William Optics GT81 Apochromatic Refractor - then and now

My William Optics GT81 Apochromatic triplet refractor, the day it arrived (left) and today (right)--that's an FPL-53 front element, 81mm aperture, 478mm focal length, 382mm at f/4.7 with the field flattener. I've been capturing the beautiful night sky with this awesome piece of hardware for nearly seven years. I bought it August 2015 and here we are in May 2022. I have captured hundreds of nebulae, galaxies, supernova remnants, and various phases of our moon. Over the last seven years I've captured the distant light of stars and emission nebulae in thousands of one, two, five, and ten-minute sub-exposures. Here's to seven more. Thank you, William Optics!

Posted May 3, 2022
Color Wide-field test with the new Raspberry Pi 4 4GB and Stellarmate
I'm testing out my color widefield setup with the William Optics ZS61 APO, ZWO ASI071MC cooled color, ZWO ASI120MM-S guide cam, DeepSkyDad AF1 focuser, homemade powerbox (2 x 12v out, 1 x 5v 4 amp out, 1 x dew control out), controlled by a Raspberry Pi 4 4GB running Stellarmate 1.4.2 beta. I ran some test sequences in Ekos and everything appeared to function normally. I am getting an error for the focuser ("...temperature value (!100)"), but the AF1 doesn't support temperature controlled focus adjustment, so not sure if this affects anything. It focuses properly, so I'm choosing to ignore the error for now. And I'm not absolutely sure this is a Raspberry Pi 4 thing, instead of an INDI/Ekos thing on any hardware. And you may have noticed that I'm testing this out (remotely, using Jump Desktop) from my brand new Apple iMac 5k 27" i9/8core with... yes, I ordered it with 8 GB RAM, but I have 64GB on order, and I'll add that myself. (No sense paying $1000 to have someone at Apple do that for me).
What's funny is Dylan O'Donnell on his Star Stuff channel posted about upgrading his iMac and the giant performance improvement with PixInsight--same iMac I just bought, but I haven't used PixInsight processing software. I'm a Photoshop guy from way back in the 90s and version 4. https://youtu.be/J_EsH54XqjE


Posted August 24, 2019
NGC 2174 in the Hubble Palette and Bi-color HO
NGC 2174, the Monkey Head Nebula. I went with the Hubble Palette, SHO, on this one. Exposures: 24 x 120 seconds Ha, 26 x 120 seconds OIII, 24 x 120 seconds SII. Equipment: William Optics GT81 APO refractor, ZWO ASI1600MM-Pro monochrome 16MP camera (unity gain 139/21), Astronomik filters, iOptron CEM25P mount, INDI/Ekos/KStars control software. NGC 2174 is a faint emission nebula located in the constellation Orion, about 6400 light-years away. This was a test of my field setup that I'll taking on the road in a week. I'll have to come back to NGC 2174 with longer exposures--and more of them. And dark frames. I didn't shoot any calibration frames in this run.

Here's my processing of NGC 2174 in Hydrogen-alpha and Oxygen (without the Sulfur frames).

Posted February 22, 2019
First astro session of the year!
The star at the core of this nebula is the "Flaming Star", AE Aurigae, in the constellation Auriga (The Charioteer), and all the surrounding dust and clouds of hydrogen is called the Flaming Star Nebula (IC 405). This emission nebula is around 1500 lightyears away and it's fairly large, about 5 lightyears across (roughly 47 trillion kilometers or 30 trillion miles across).
What's interesting is that even though AE Auriga is lighting up the nebula, it was not formed there, but rather is a "runaway star" that was probably ejected several million years ago from the star formation furnace in the core of the Orion Nebula. The star is moving quickly through the nebula, producing a violent bow shock with a wave of high energy electromagnetic radiation.
Frames: 23 x 300 seconds of Ha, 5 x 300 seconds of OIII (I was not picking up oxygen at all!), and 20 x 360 seconds of SII. Equipment: William Optics GT81 APO refractor, ZWO ASI1600MM-Pro monochrome camera (unity gain 139/21), Astronomik filters, iOptron CEM25P mount, INDI/Ekos/KStars running in Stellarmate/Raspberry Pi 3b+.

Posted January 2, 2019
Orion Mosaic
I've had the Orion Atlas EQ-G, William Optics GT81, and ZWO ASI071MC camera set up for the last three days. It's been cold--down around -10C in the early morning hours. With a new moon that's slowly waxing, but still mostly absent from the night sky, I've been using the color camera to capture some amazing targets, including this three panel mosaic of the Orion Nebula (M42), Running Man Nebula, Horsehead Nebula (Barnard 33), Flame Nebula (NGC 2024), and the three giant stars in Orion's Belt, Alnitak, Alnilam, and Mintaka. This is why the Orion Constellation is arguably the sky's most impressive constellation. NOTES: 31 x 300 second exposures for each, with an additional set of 10 and 30 second exposures for the Trapezium in M42--that really bright triangular region. There's just so much fiery star forming action at the heart of the Orion Nebula that any exposure over a dozen seconds is going to blow out the whole area.

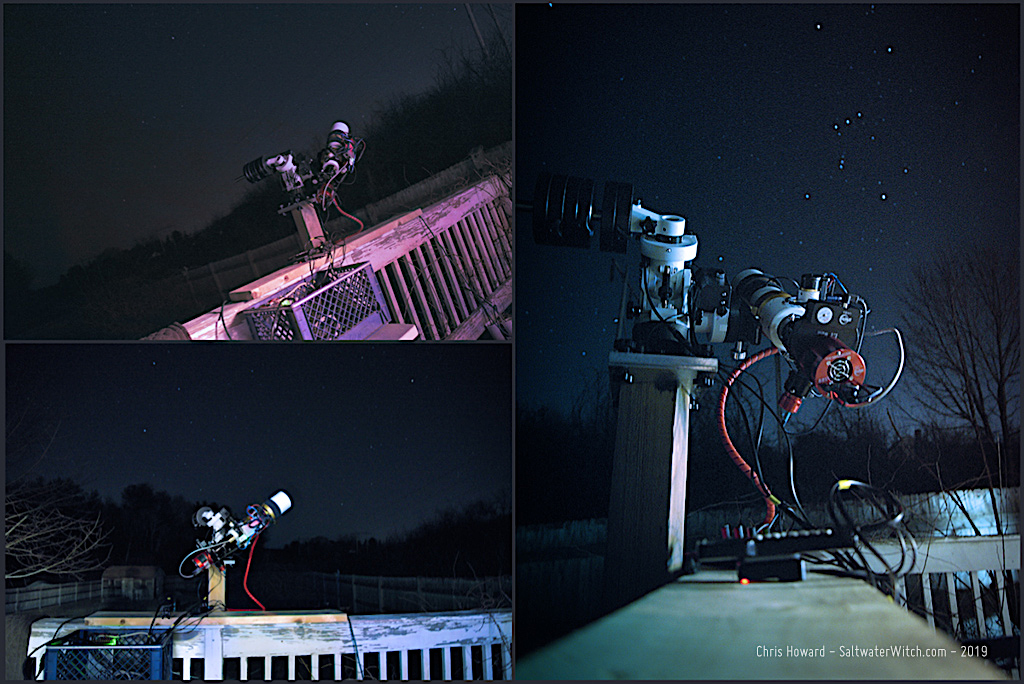
Here's my setup for the last few nights:

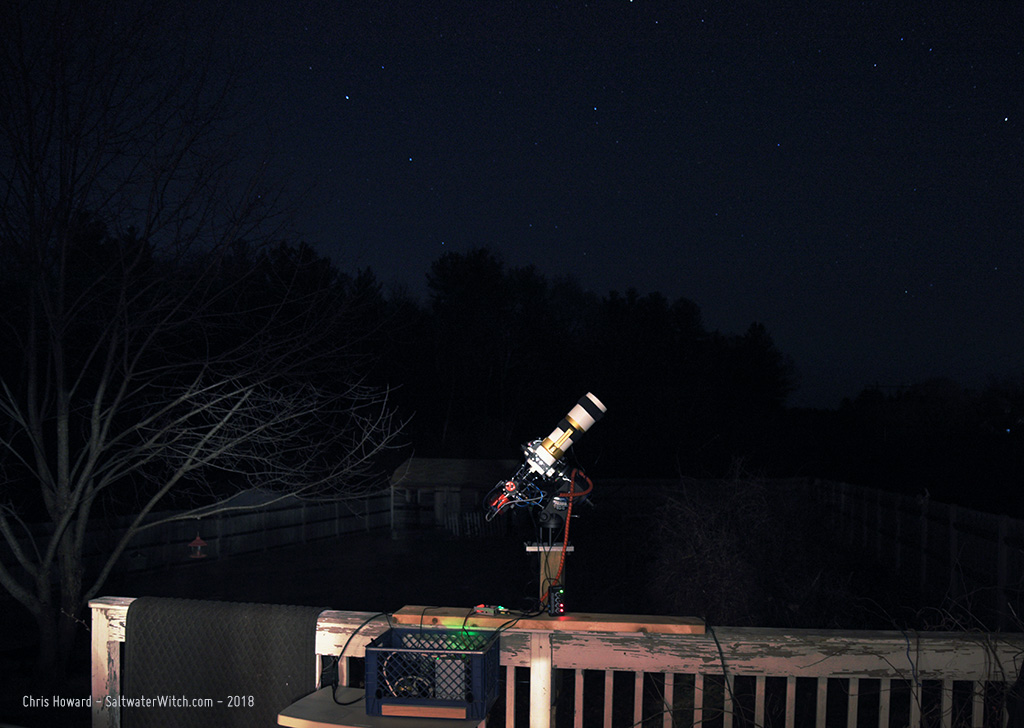
Orion at the southern Meridian:
Posted December 11, 2018
iOptron Mods: October 26, 2018
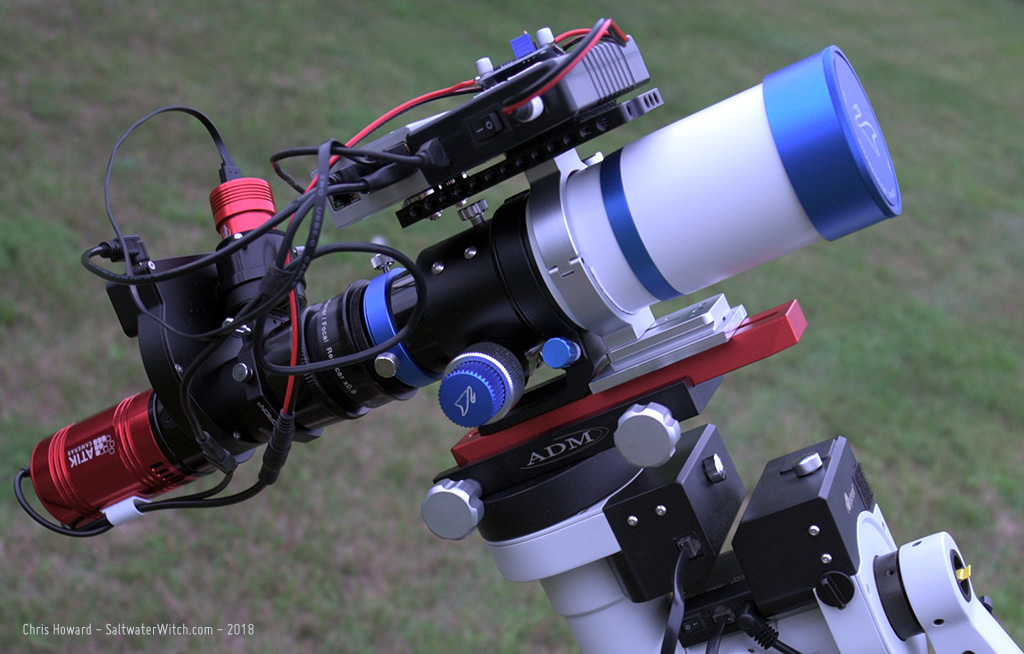
According to several weather sources it's not going to be clear after 8pm tonight, but I set up the William Optics GT81 anyway. Two reasons: I need to test out an adjustment I made in the spacing from the WO FLAT 6AII, to see if it corrects some star elongation at the corners--I added a 3mm M48 spacer just between the flattener/reducer and the off-axis guider. Second, I'm testing out some plans I have with Stellarmate (INDI, Ekos, KStars) on a Rasp Pi 3B+ (faster, with AC wifi). This one will be dedicated to this color imaging rig, with an auto-starting Ekos equipment profile.
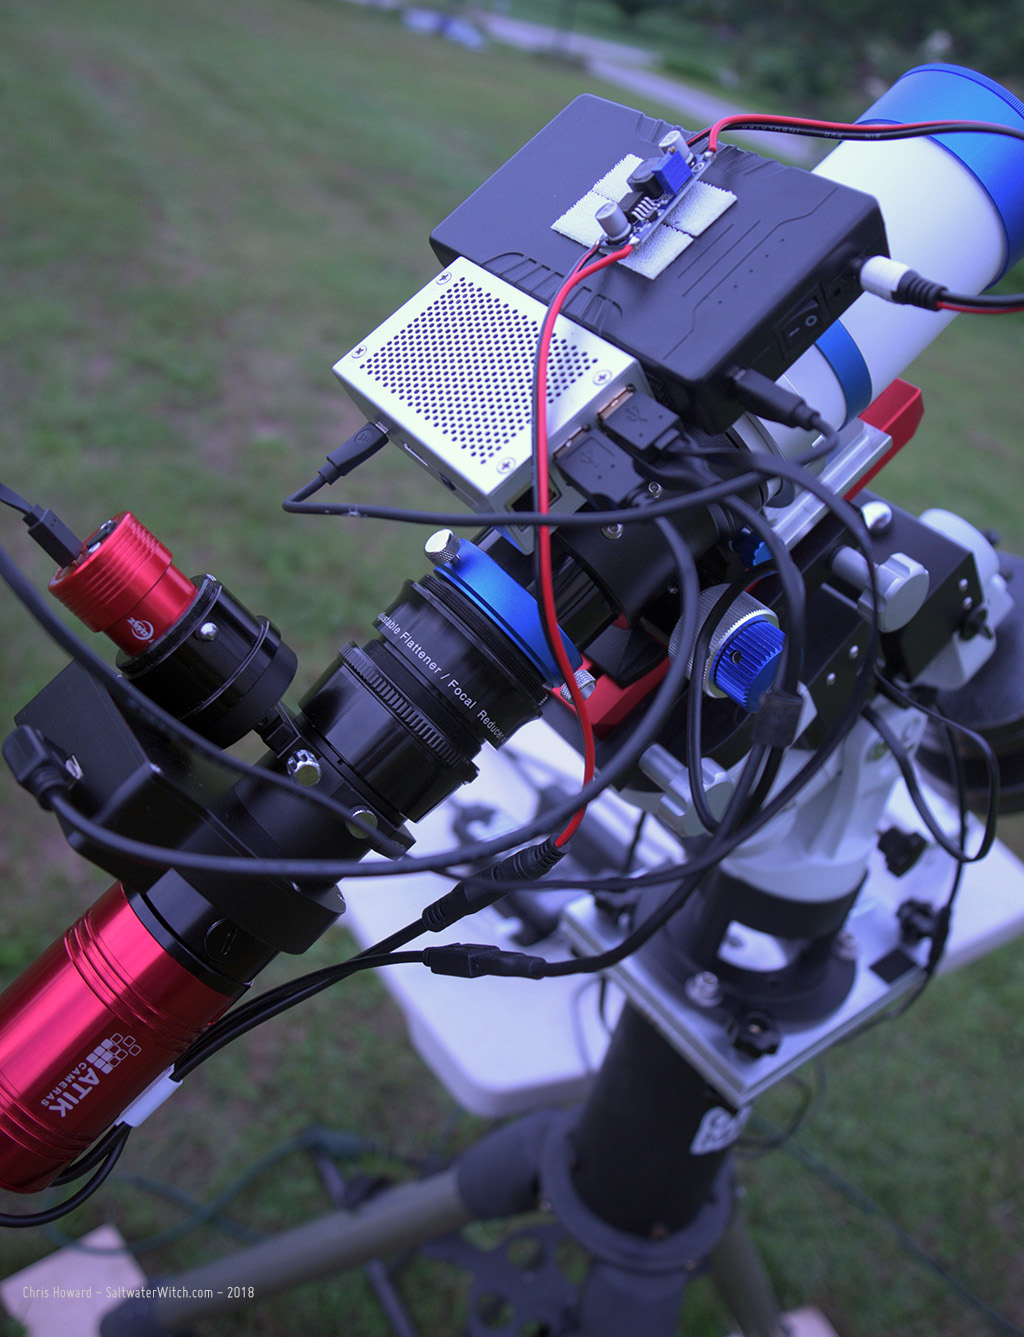
I put together a list of modifications and upgrades I have added or built for my IOptron CEM25P mount, and included them in one handy image--with arrows and descriptions (see below). Over the last year this has become my primary telescope mount (over my Orion Atlas EQ-G), partly because I've been doing most of my astro-imaging work with 81 and 61mm aperture refractors (that's a William Optics GT81 in the upper right). The other advantage of the CEM25P is quick setup time. I can have this bolted to the pier plate, polar aligned, and ready to image in about five minutes.


Posted October 26, 2018
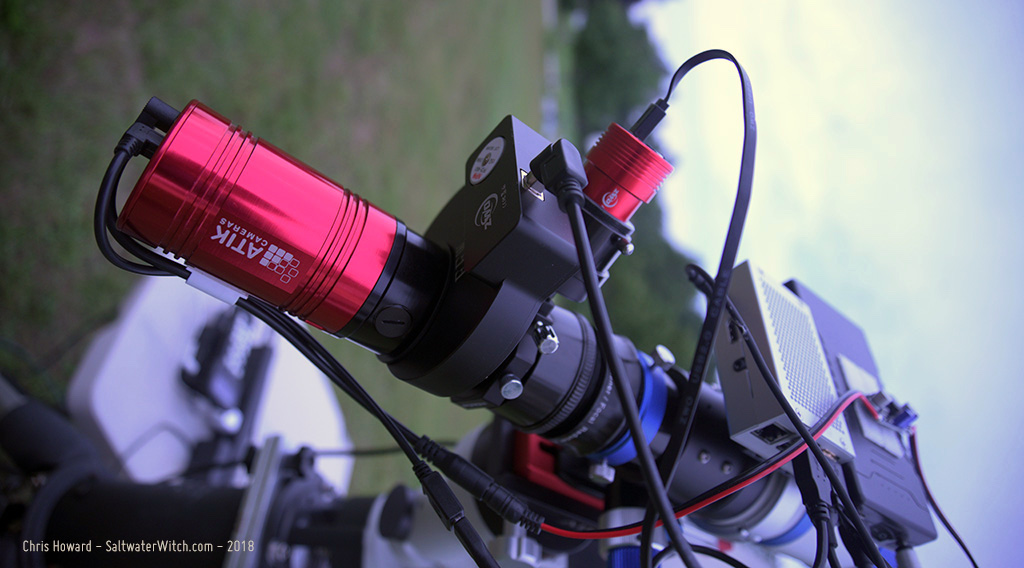
Color Imaging Train: October 21, 2018
Here's my working color imaging train with the William Optics GT81 APO. The leftmost component is the William Optics FLAT 6AII field flattener/reducer which brings the focal length of the GT81 to 382mm at f/4.7. Pretty fast. The problem, of course, with reducers and flatteners is nailing that 55mm T2 distance to the camera sensor. That means the off-axis guider has to be thin (Orion Thin OAG) and the inline filter drawer does as well. The last piece of the puzzle, or bit of trouble you have to deal with is focusing the off-axis guide camera, matching the guide camera sensor distance to the primary camera sensor distance. And I finally had a bit of clear sky at night--bright moon however--to dial this in.
I added the filter drawer to be able to support UHC and other filters with the ZWO ASI071MC color camera. I don't plan on running with a filter most of the time, but some targets call for a bit more contrast.

Posted October 21, 2018
Small Refractor Mods: August 25, 2018
There were several high-quality 60mm apochromatic refractors that entered the market last year. They were pitched as portable wide-field scopes, and also marketed here in the US for the solar eclipse last summer. Starting around $450 USD, these little refractors, like the William Optics ZenithStar 61 sold out quickly. I didn’t get a chance to purchase one until May of this year.
The ZS61 has a 360mm focal length at f/5.9, synthetic fluorite objective lens--FPL-53, which has some amazing optical properties. It’s a great scope, with a solid focuser. But there’s an easy modification that will make it even better. I found one thing when I added the imaging train--here’s my narrowband setup, with an Atik414EX monochrome CCD, a ZWO filter wheel with 5 filters, hydrogen-alpha, oxygen3, sulfur2, clear, and a near IR 685nm longpass. With the field flattener this ends up around 3.2 pounds or 1.45kg. These scopes--I keep saying these scopes because there are several varieties of the same basic components, a few of them with the same focuser, focal length, and aperture, differing--as far as I can tell--only with the hardware, knobs, lens caps.
Anyway, the first thing you probably want to do with these is strengthen the scope’s connection to the dovetail bar. The stock version comes with this clamshell ring and shoe, and if you’re going to do anything other than some light visual astronomy, you will want to backup the stock ring with another. I found that when I added the camera, filter wheel, and guider, the whole system had a slight flex to it if I lifted or pushed down with the camera. At first I thought it was the focuser and was a bit bummed about that, but then I noticed it was the whole scope moving, and it all relied on this rather slender ring and shoe. The focuser itself is very smooth and very solid. It’s a dual-speed rack-and-pinion type, and so you may want to adjust some of the tension screws depending on the load you’re planning to add--a DSLR or more, but out of the box, this focuser along with FPL-53 glass makes this scope worth considering for your wider-field work.
To remove that flexure in the system, I bought a ZWO 78mm Holder Ring for ASI Cooled Cameras to see if it would work. The tube’s diameter is around 76mm, and with a delrin shim or something similar, the 78mm inside diameter of the ZWO ring worked almost perfectly. The one gap--literally--was with the two shoes of each ring. The stock William Optics one is ¼” (6.35mm) taller than the ZWO ring. Easy solution: I went to my favorite aluminum supplier (you have one, right? See the links below) and bought a set of stock aluminum pieces, 2” x 3” x ¼”, then drilled, and stacked it with the dual ring setup. Now the whole system is perfectly rigid with two strong foundations.
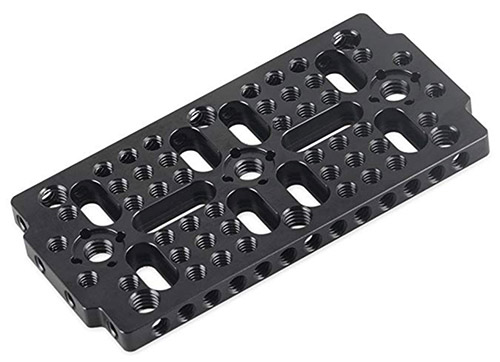 The other advantage of going with the ZWO holder ring are the risers with the threaded holes on the top and bottom. I added one of these SmallRig cheese grater mounting plates on the top--you should always have one or two of these on hand for bolting things together. They’re tough, anodized aluminum, and full of threaded holes of varying sizes. I use these on the ZS61 and my William Optics GT81 to connect the control hardware and power--usually a Raspberry Pi3b and 12v battery pack. What’s nice is I can use a couple hexcap screws to quickly add or remove all devices from one scope to the other.
So, there you have it. An easy way to build more rigidity into a nearly perfect portable wide-field setup. Let me know if you have questions, or a better way to accomplish this. I added some links below for the components I used.
https://www.highpointscientific.com/zwo-78mm-holder-ring-for-asi-cooled-cameras-ringd-78
https://www.amazon.com/dp/B019C2ZM8Q
For aluminum: Stoners Tools and Raw Materials
https://www.ebay.com/str/stonerstoolsandrawmaterials
Ebay listing for the 2” x 3” x ¼” aluminum bar stock:
https://www.ebay.com/itm/281291003556