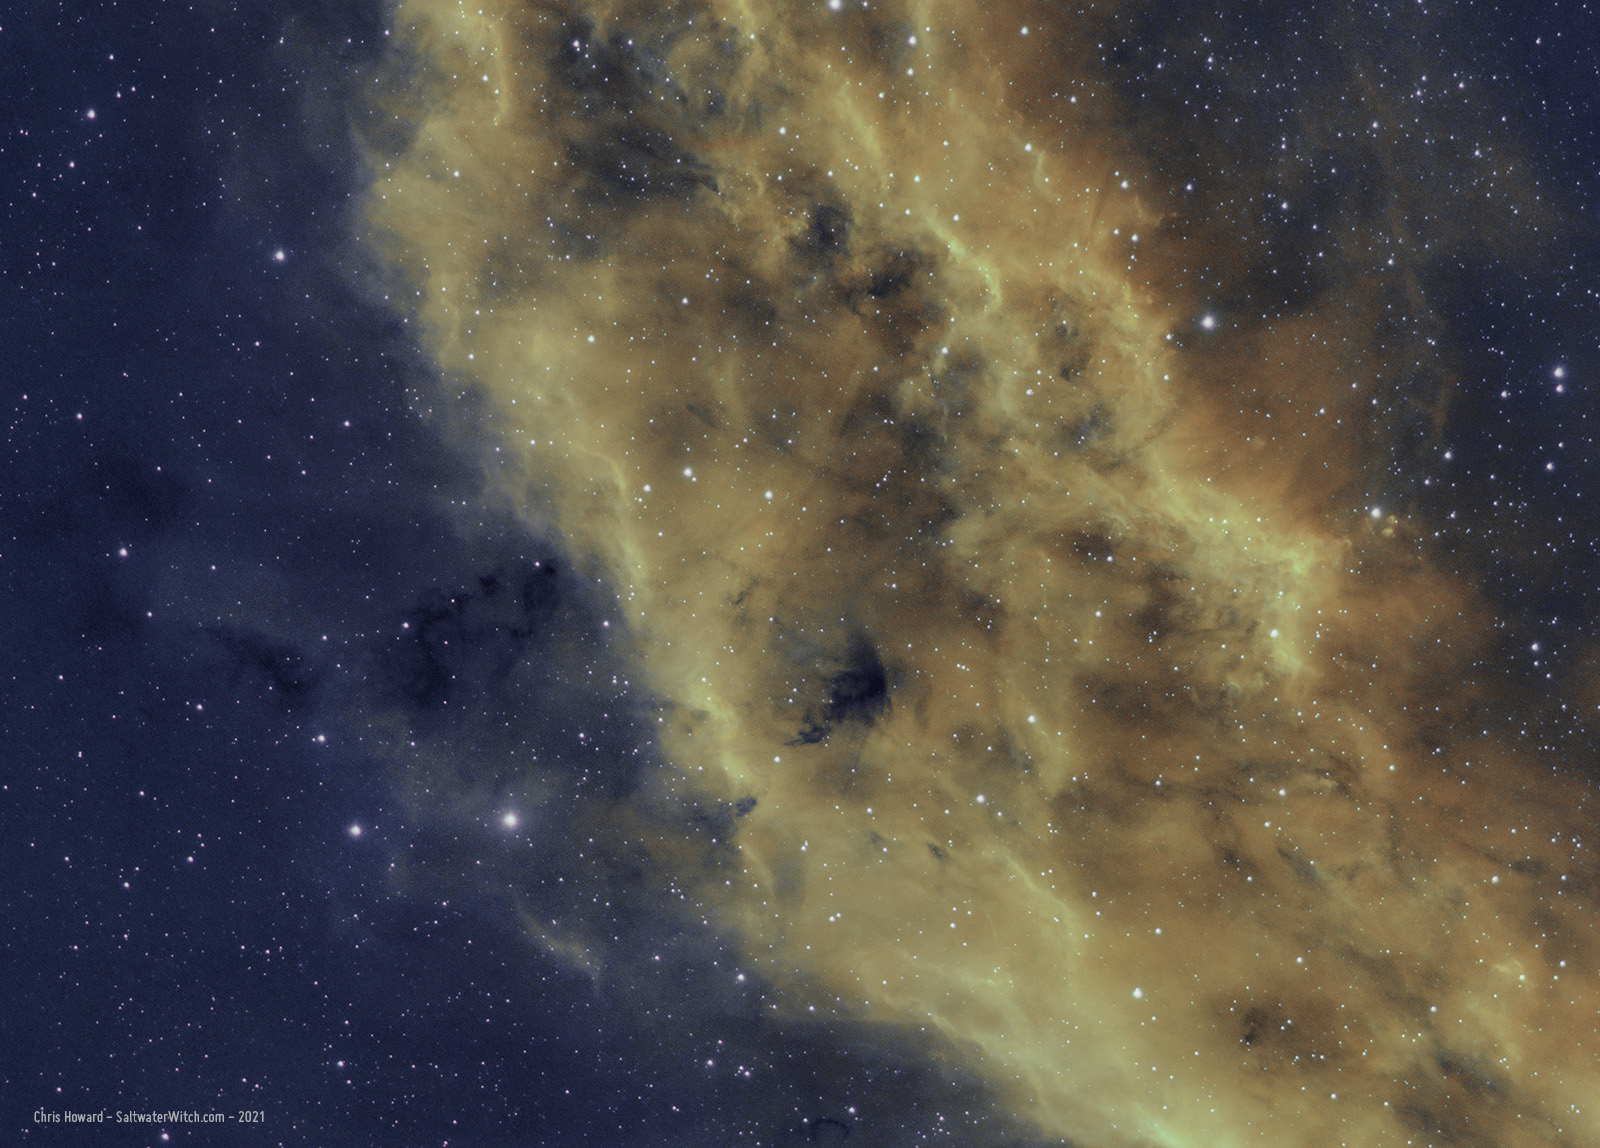
NGC 1499 (California Nebula) Reprocess
While the clouds and rain hang about, I'm reprocessing some data from late last year. False color imaging is fascinating, and I'm retrying the bi-color, Hydrogen-alpha and Sulfur 2 made up of Red and Blue with equal parts Green. The dark clouds of interstellar dust and pockets of hydrogen stand out more this time. NGC1499 is an emission nebula in the constellation Perseus, about 1000 lightyears away from us. This is the central region of the California Nebula, so that means the interstellar version of Fresno is somewhere in there. 
Posted May 23, 2021
Project of the Week: Flat Frame Light
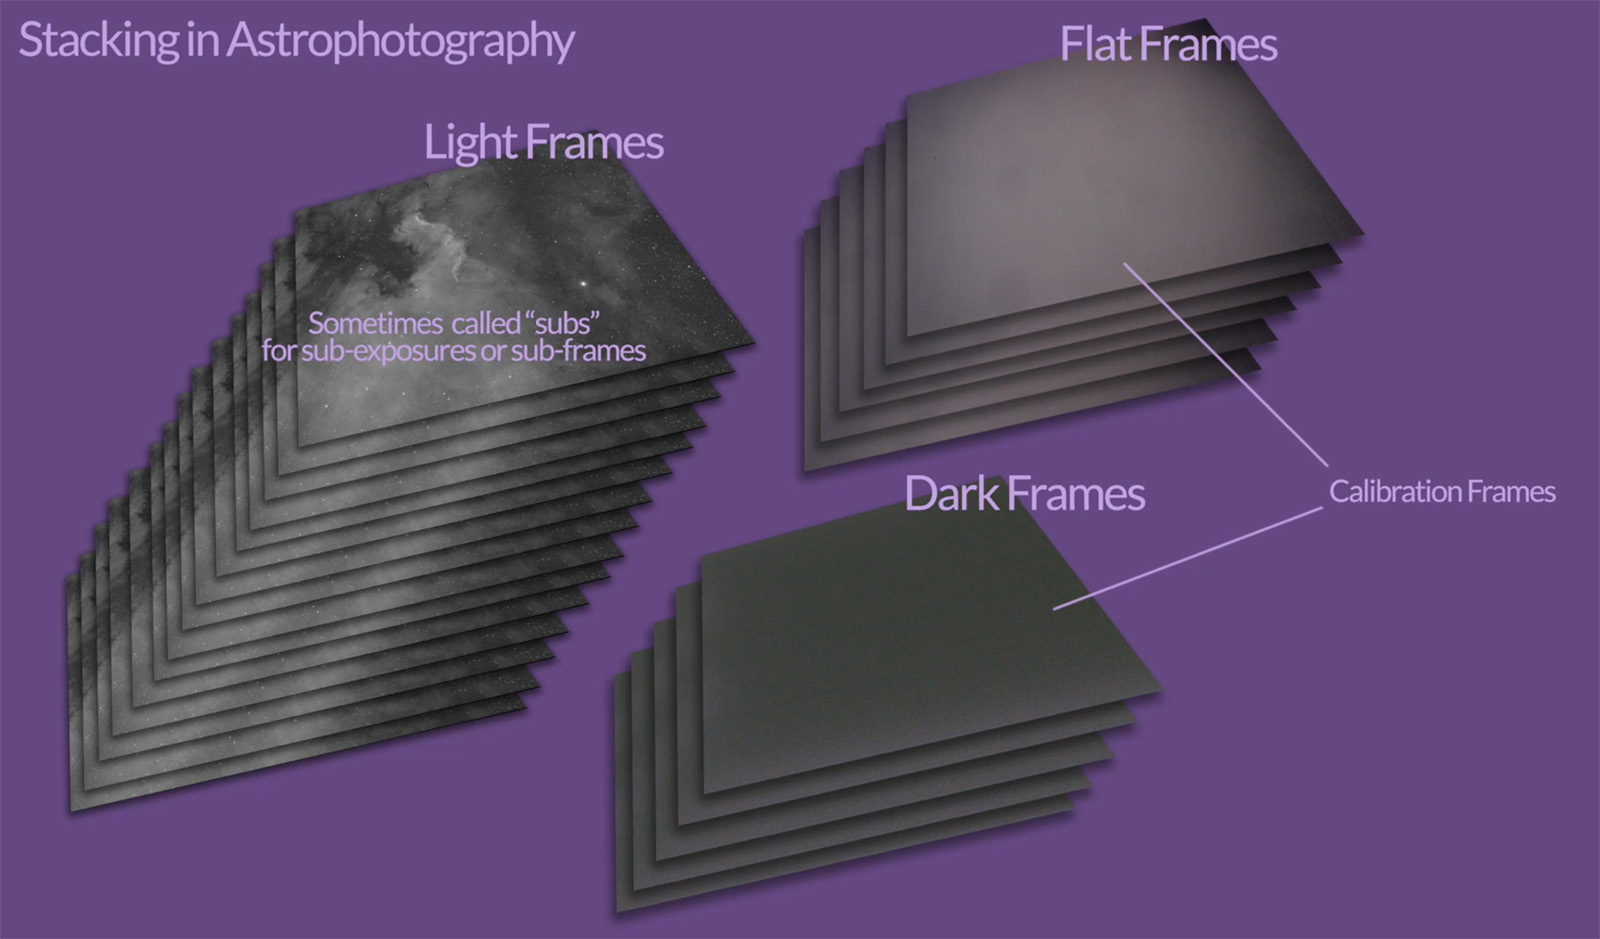 Astrophotography relies on many stacked images of the same target in the night sky, anywhere from 20 to over a hundred or more, all merged together with sophisticated algorithms to form one image. The purpose of stacking is to shift the SNR—Signal to Noise Ratio—to our advantage, so that there is more signal (nebula, galaxy) and less noise (light pollution, read noise, etc.)
Part of that stacking process involves calibration frames, which provide additional data in the stacking process for reducing noise, including read noise, thermal noise, removing dust on the sensor, vignetting, uneven field illumination, and other stuff we don't want in the final image.
One type of calibration frame is a Flat Frame, which involves shooting ~20 - 40 exposures of an even, luminous source, with the same camera used to shoot your deep sky objects set to the same temperature and somewhere near your normal focus position (there's some leeway with focus). Exposure times are based on filters and camera settings. One way to do this is to point at a blank wall or by covering the front of the scope with paper or a white t-shirt, and taking a batch of exposures—both during daylight hours. We usually take new Flat Frames every month or so, or whenever anything in the imaging train changes significantly.
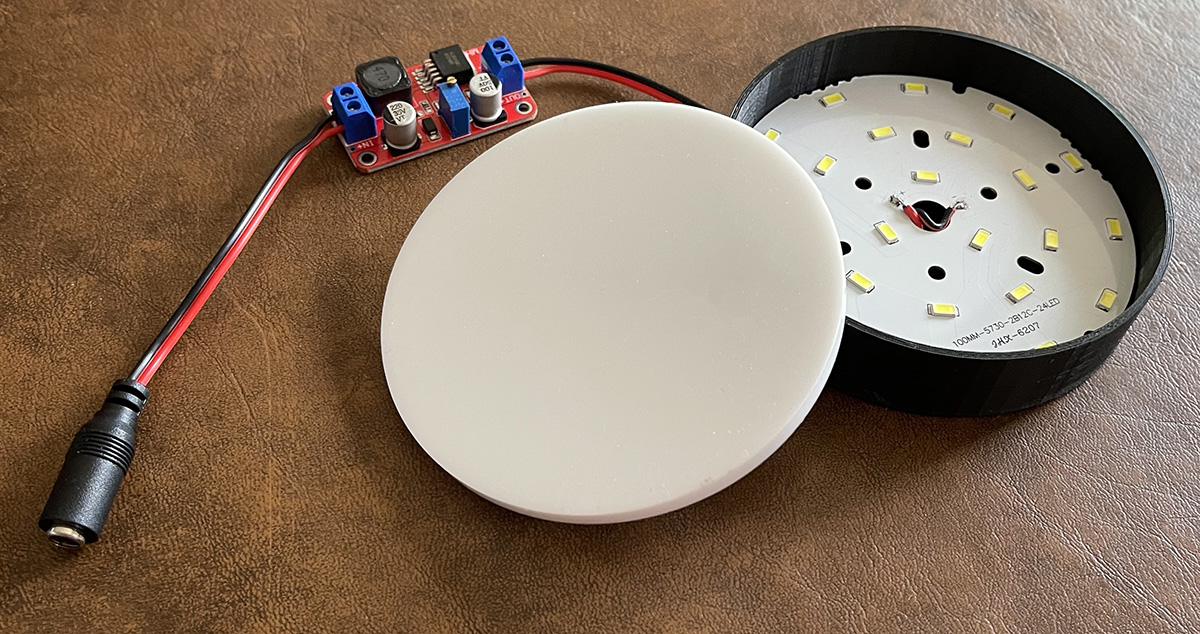
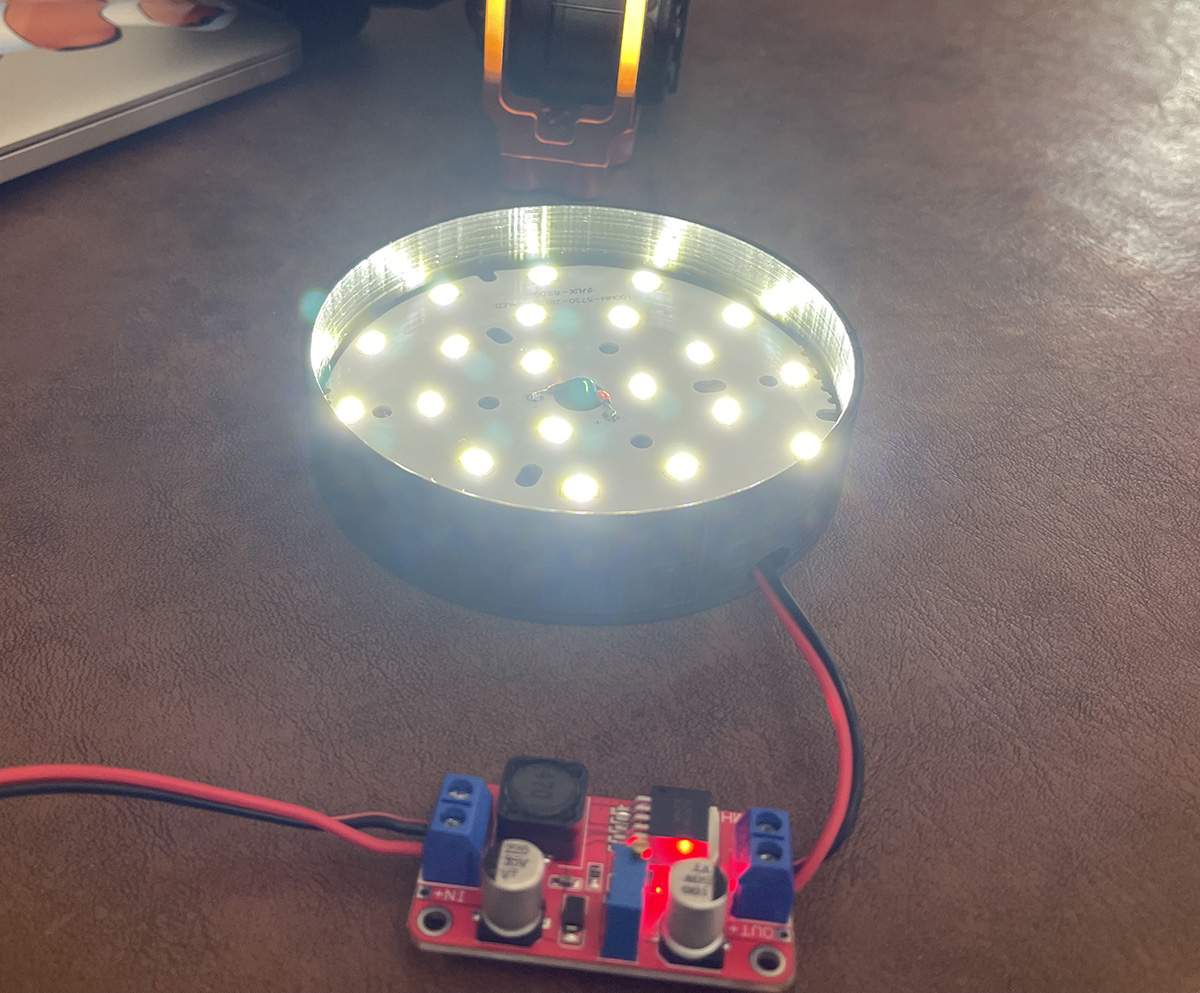
I made an LED Flat Frame Light for my SpaceCat 51 using some inexpensive hardware and a printed enclosure—links to everything below. There's not much to it, other than making sure you have the DC voltage connected the right way—positive to positive, ground to ground and all that. The step-up converter I'm using for this project has a potentiometer to change the output voltage. First thing I did was plug the input side into a 3amp 12v adapter, and then with the meter attached, used a screwdriver to adjust the output toward 40vdc—I think you'll get something out of the LEDs at anything over 30 volts, but keep going, make it bright! The specs on the LED board say anywhere from 36-42v DC is in range, and this particular XL6019 converter can output up to 40v.
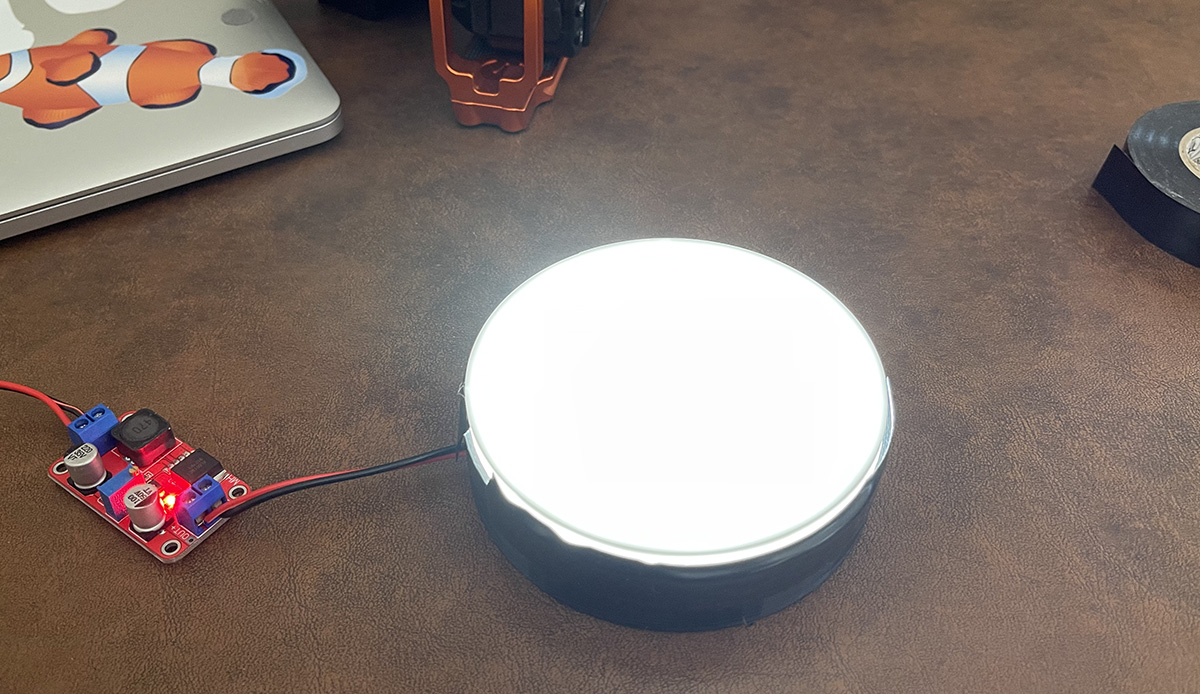
I'm still testing illumination across the acrylic face plate. The space between the LEDs and white acrylic is a little over a centimeter, and that seems to look evenly illuminated to my eyes. That's the one thing that remains to be tested and potentially adjusted—most likely away from the LEDs by small amounts until it works. I'm also going to add a strip of aluminum foil around the inside to make the most of the reflected light.
I used E6000 glue (link below) to hold the LED board to the stand-offs on the printed enclosure. The board is aluminum and acts as a heatsink. E6000 is supposed to work at high or low temperatures, but we'll see how that works out after some serious testing.
Where to go from here? A larger diameter light is probably where I'm going next, to support the the William Optics GT81. I might try different LED boards, some with more LEDs. Also, this is a pretty cheap step-up converter, and I have a couple different kinds I can try out. Making some 3D printed fittings for specific scopes is another thing to try.
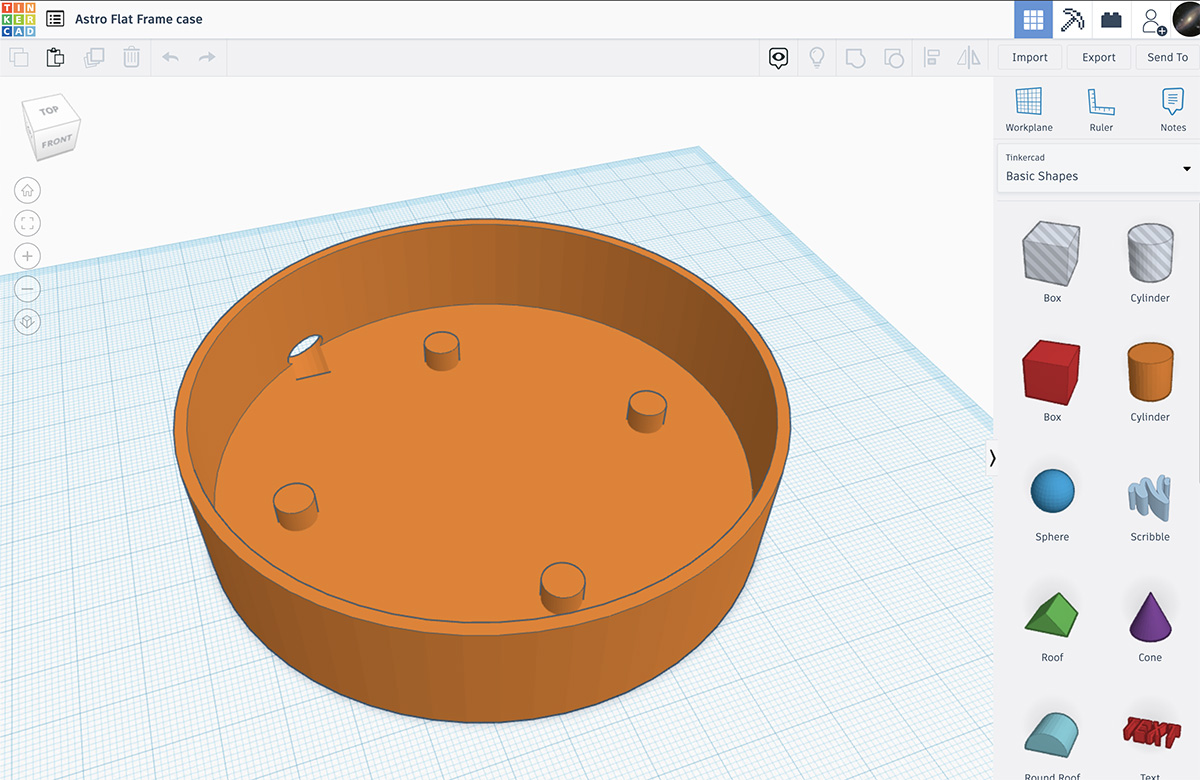
Here's a screenshot of the enclosure I made in Tinkercad:
And with the lights on!
Using electrical tape to hold the acrylic disc in place, and a strip of aluminum foil around the inside to reflect the light:
I made a 3D Printable Flat Frame Light enclosure:
https://www.tinkercad.com/things/5ThpmrMrqdR-astro-flat-frame-case
STL File I used for printing:
https://saltwaterwitch.com/files/AstroFlatFrameCase.stl
Amazon Shopping List:
5A High Power DC to DC Step-up 5V 6V 12V 24V 3-35V to 5-40V XL6019 Converter
https://www.amazon.com/dp/B07Z5M89N1
LED: Aluminum Circuit Board 5730 SMD LED Chip Module 12W 300mA 6500K Diameter 100mm
https://www.amazon.com/dp/B07VFHP5P5
Acrylic blank Opaque White Round 2 Pieces (4" Diameter, 1/4" Thick Opaque White)
https://www.amazon.com/dp/B07BPVL622
DC Power Cable 12V 5A Plugs Male Female Connectors (5.5mm x 2.1mm, 10 Pairs)
https://www.amazon.com/dp/B07C7VSRBG
E6000 High Viscosity Adhesive, 3.7 Fluid Ounces, 1 Pack, Clear, 3 Fl OZ
This: "temperature resistant – unaffected by extreme heat or cold once cured"
https://www.amazon.com/dp/B0044SB3M8
Posted May 17, 2021
Messier 13
Hercules Globular Cluster (M13, NGC 6205) with the ZWOASI071 and SpaceCat 51. This is cropped quite a bit, but still not bad.

Posted May 16, 2021
Coathanger Cluster and Dark Nebulae
That's why our galaxy is called the Milky Way. The starfield is so dense along the galactic plane, especially as you move toward the core, that the merged brightness of stars is all you see. This is a shot of the "coathanger" cluster--that's the four stars making a hook in the center with the line of stars running underneath (Al Sufi's Cluster, Brocchi's Cluster, Cr 399). The dark clouds in this frame are just that, massive clouds of interstellar dust, molecular hydrogen, and other debris that swirls around our galaxy between the stars--especially between us and these stars--because that's pretty much everything else. It's dust and stars. There are hundreds of billions of stars in the Milky Way and as you look toward the center, you are looking through a hundred-thousand lightyears of the stellar disk--everything that orbits in the galaxy with us. We're 27,000 lightyears out from the core, so you are looking through that as well as everything orbiting on the other side of the core. Yup, it's a bunch of stars, as many as 400 billion just in our galaxy.
I will admit to not being a star cluster guy. Some of them are absolutely fascinating, but they're just not my thing. You show me some dark nebulae, anything from the Barnard Catalog or Lynd's Dark Nebula Catalog, and I'm there. There are a few stand-out dark nebulae below this frame to the right (LDN 770, 778), but there are a batch in this frame including LDN 740, and lower left LDN 741, 745.
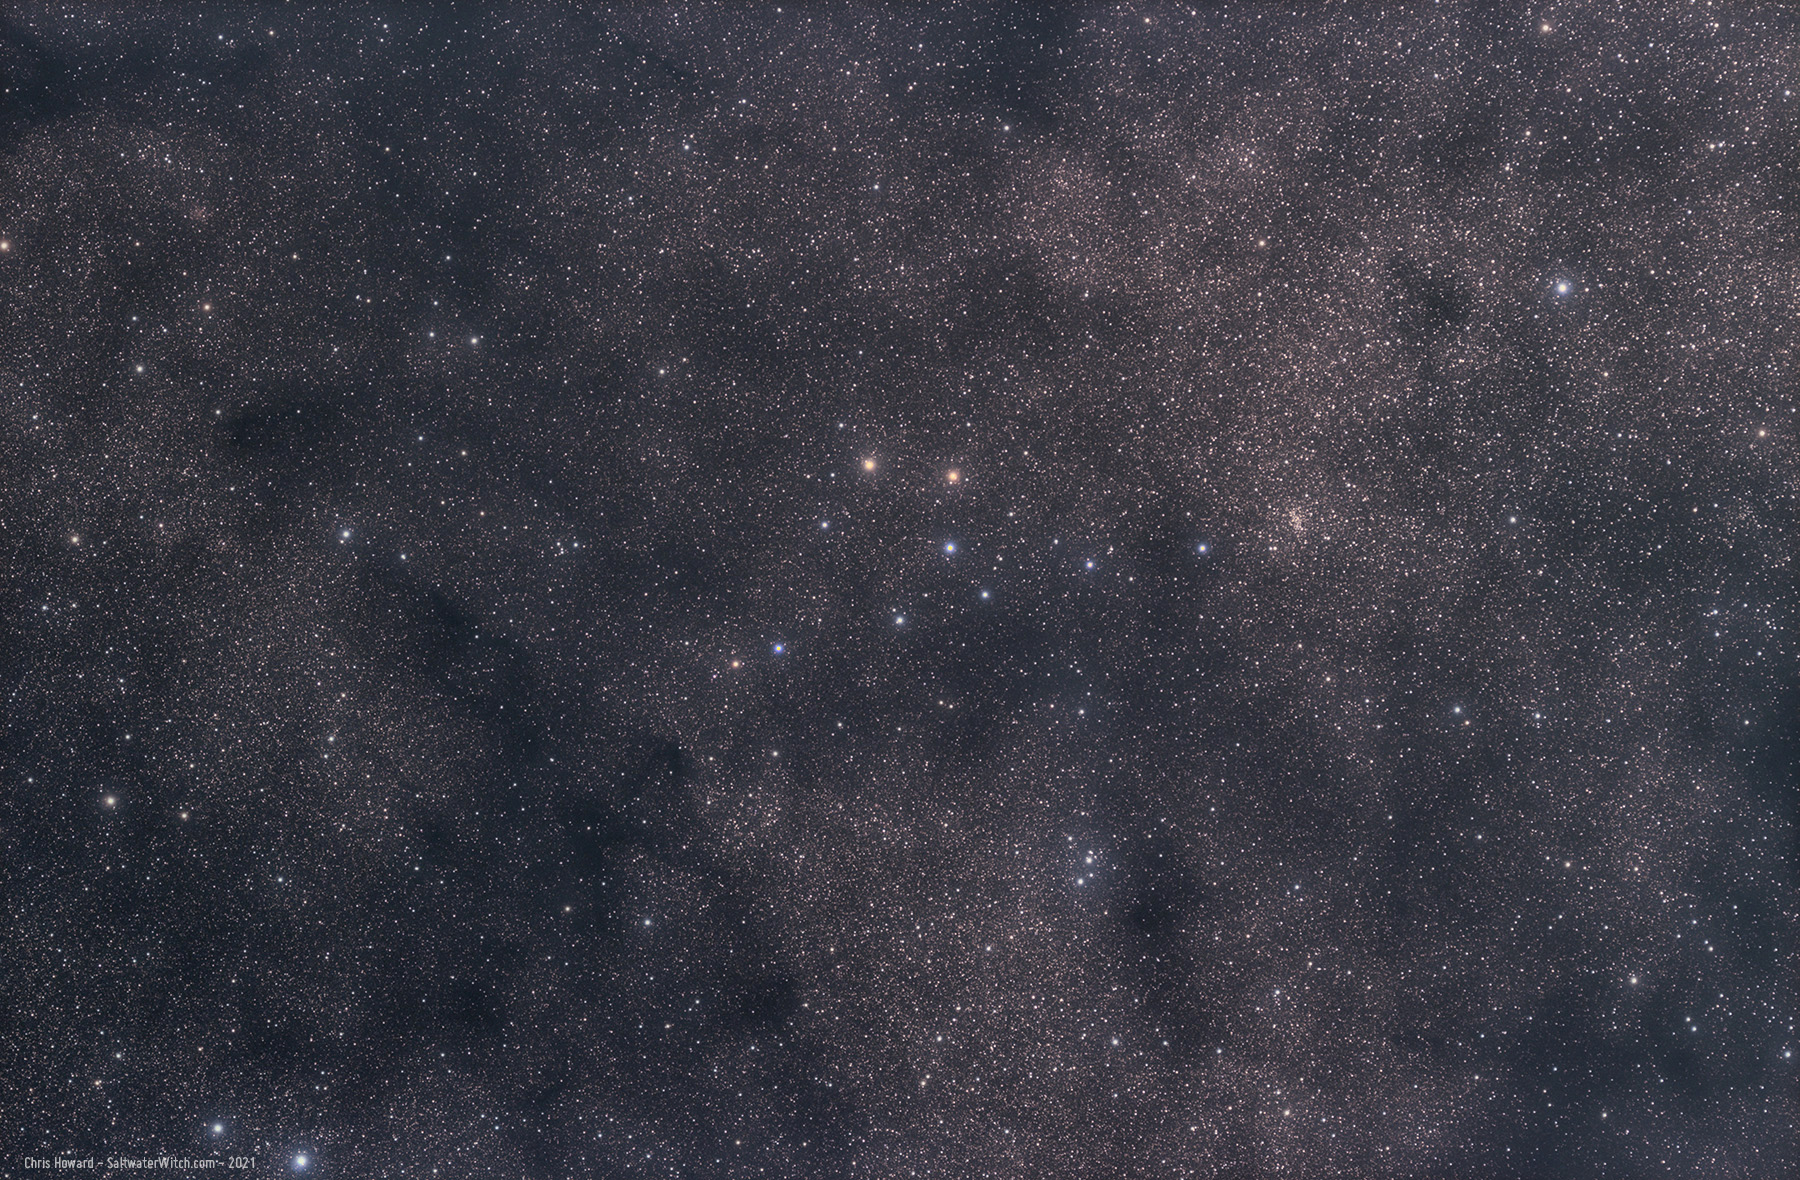
Notes: This is 81 x 60-second sub-exposures stacked in DSS and processed in PS2021. Equipment: William Optics SpaceCat 51 APO refractor, ZWO ASI071MC, no filters, DeepSkyDad AF3 focuser, iOptron CEM25P mount.
Posted May 16, 2021
North America Nebula and the surrounding area
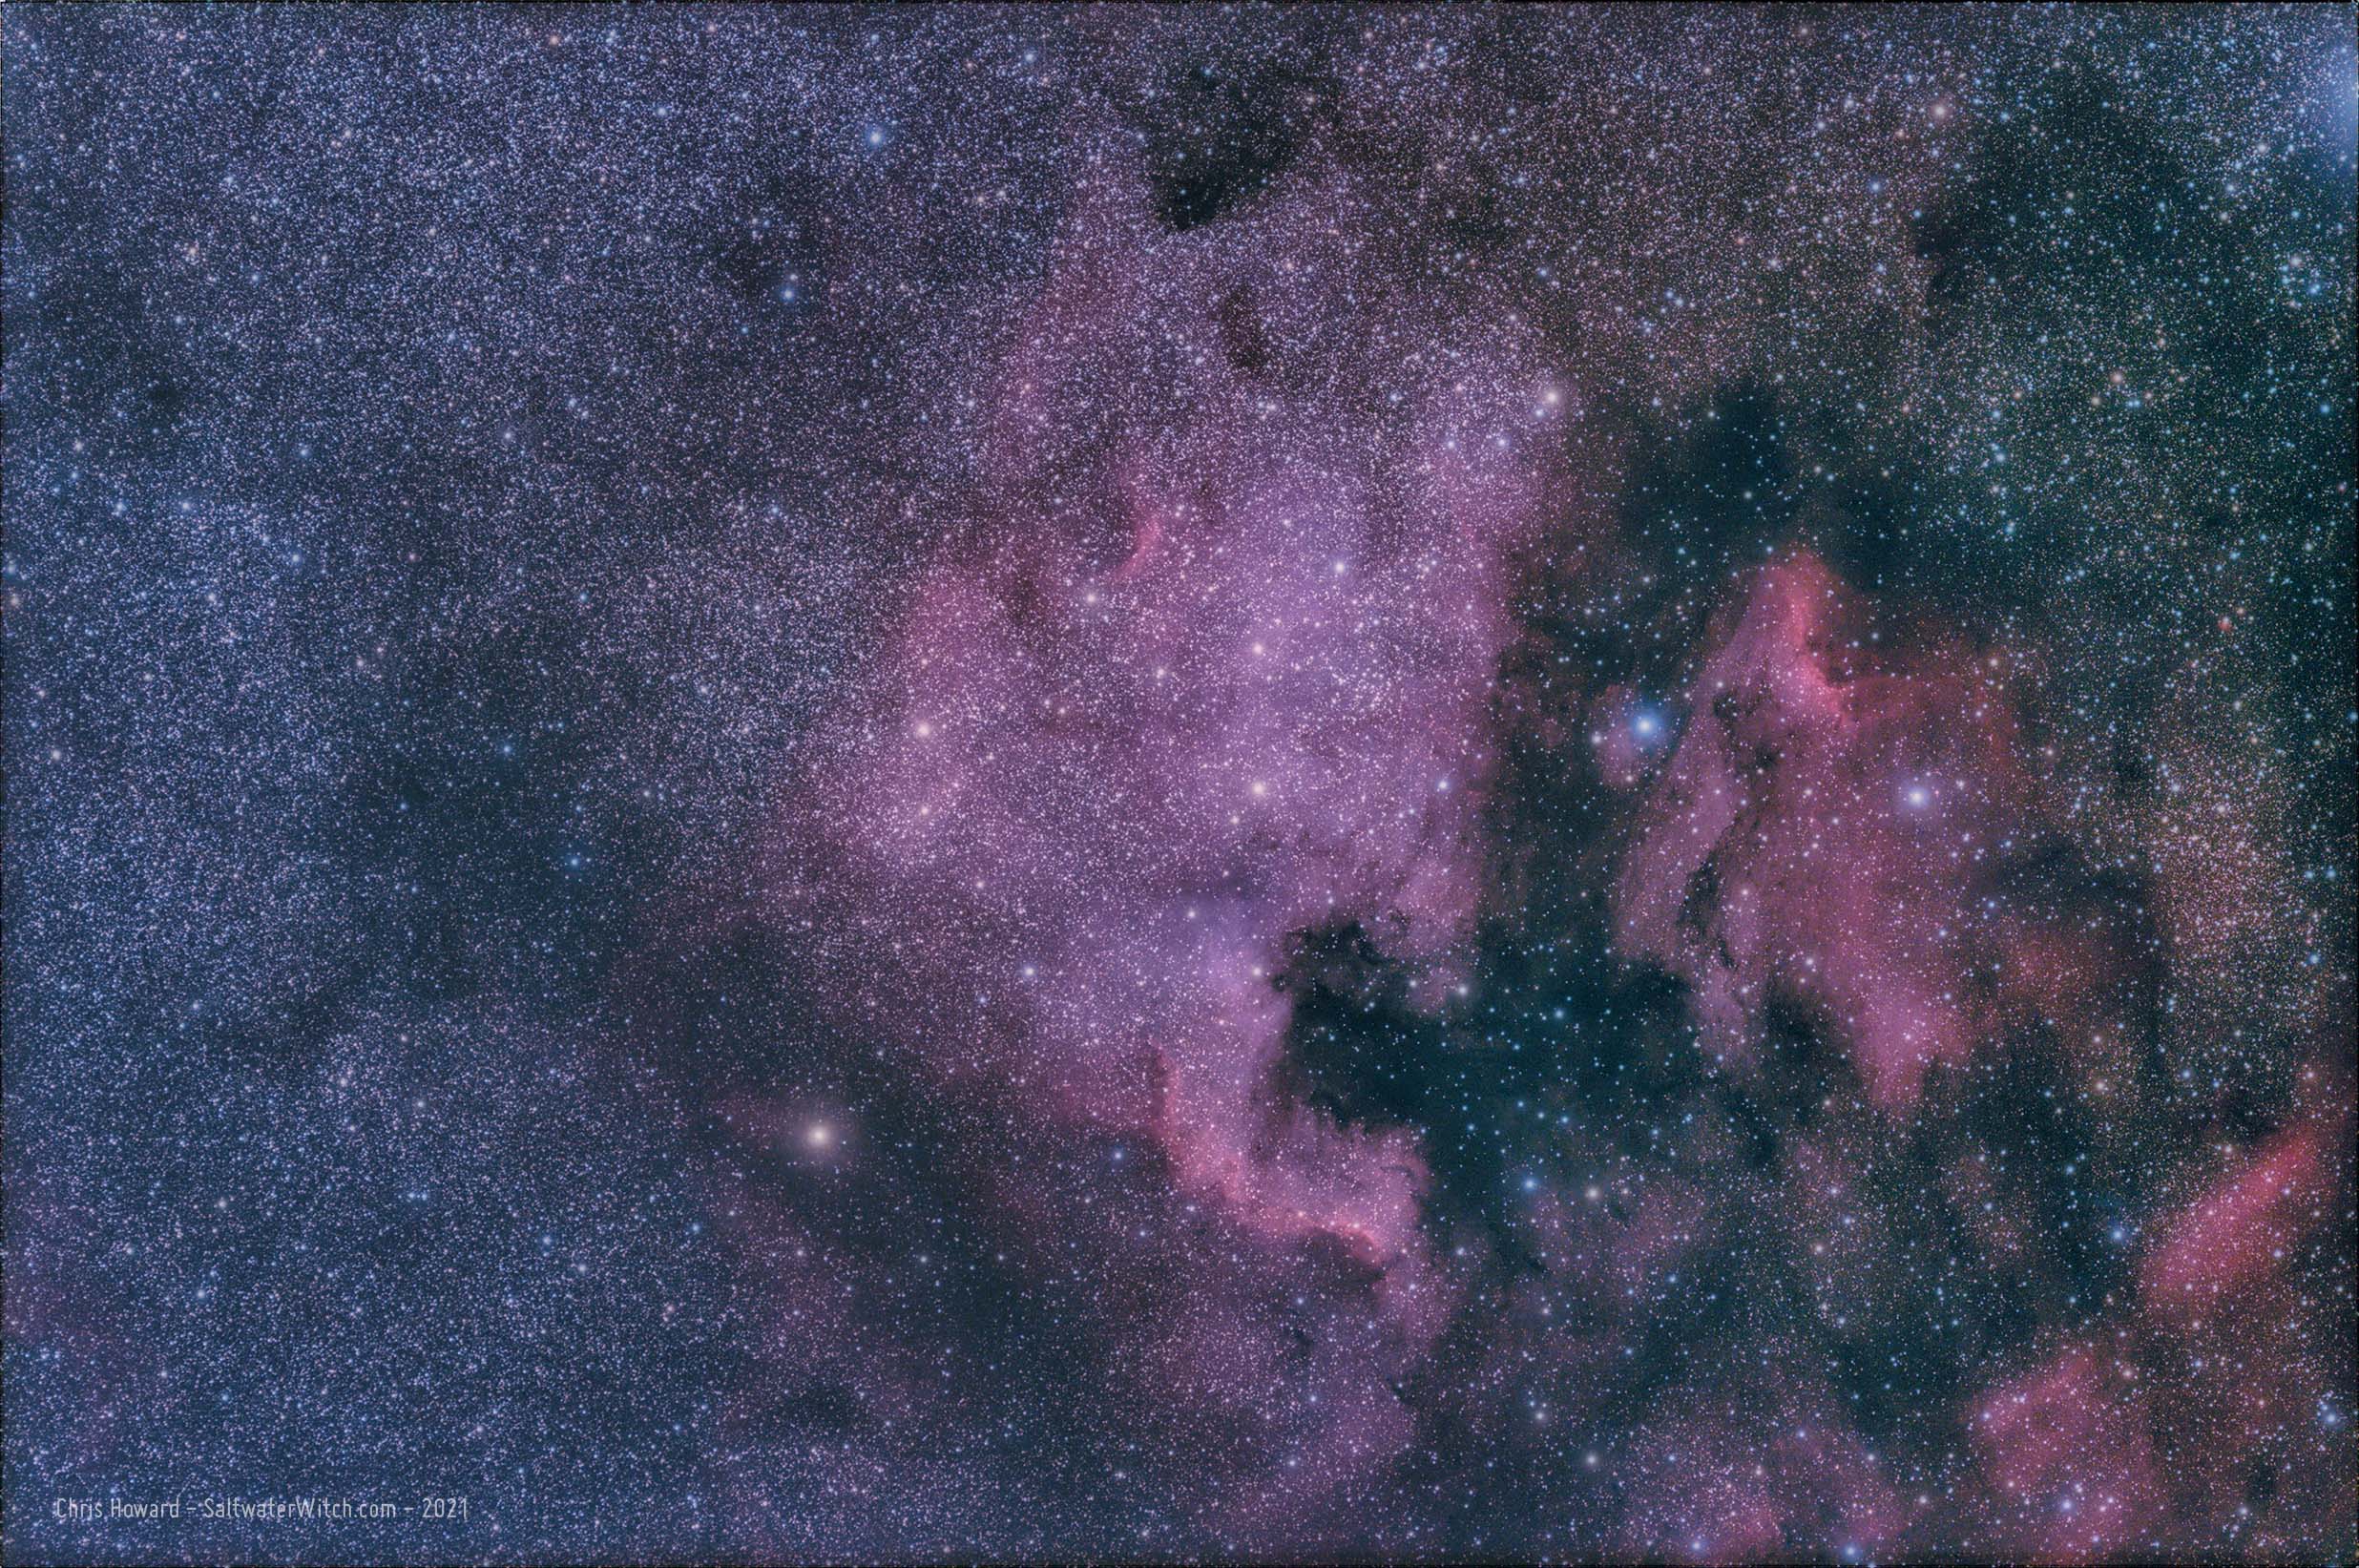
Did some astro-imaging last night! I think of narrowband imaging as my thing, but it's always fun to use the cooled color camera on what are typically narrowband deep sky targets--the emission nebula NGC 7000 (North America Nebula) in this case. You can probably see why it's called the North America Nebula. To the right of it is the Pelican Nebula (IC 5070) with IC 5068 on the lower right. As you can see, I also managed to capture a few stars. That bright area in the upper right is one of the brightest stars in the sky, Deneb, encroaching on the frame. This is 42 x 2-minute sub-exposures stacked in DSS and processed in PS2021. Equipment: William Optics SpaceCat 51 APO refractor, ZWO ASI071MC, no filters, DeepSkyDad AF3 focuser, iOptron CEM25P mount.
Setup for the night, using the test pier off the deck, doing some fine adjustment to the guide cam distance.

Posted May 15, 2021
The cool things you catch while testing
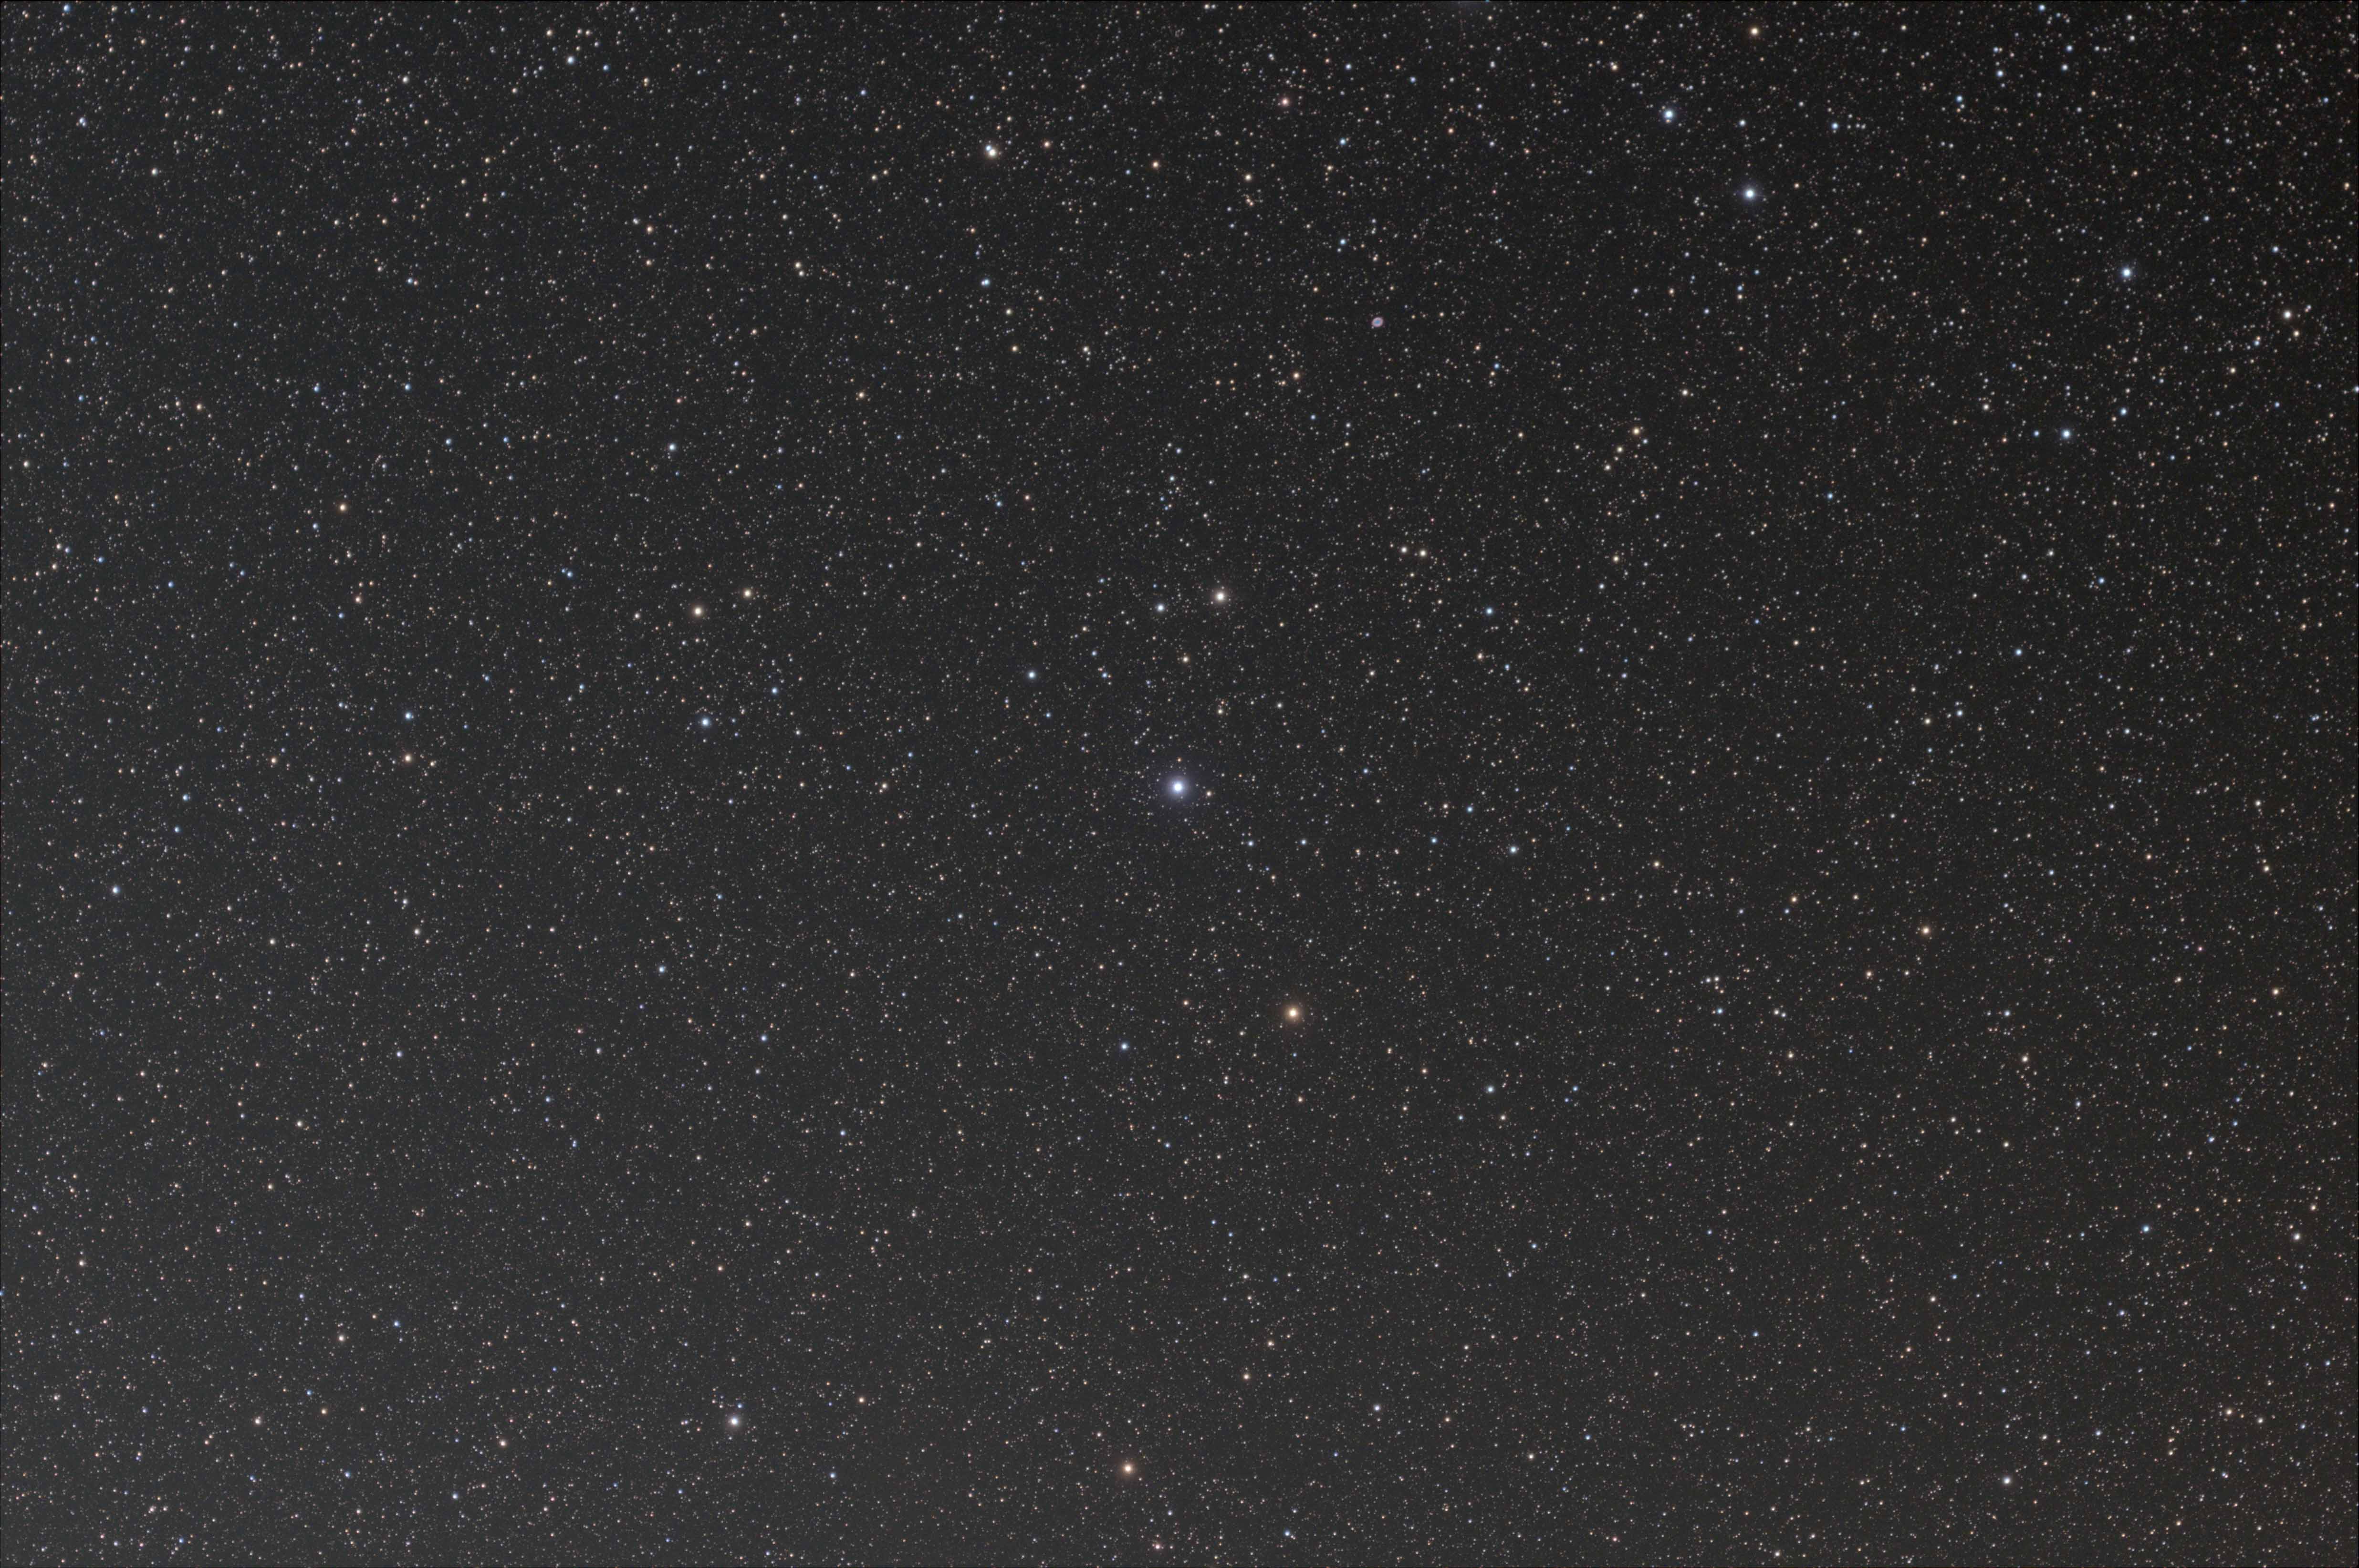
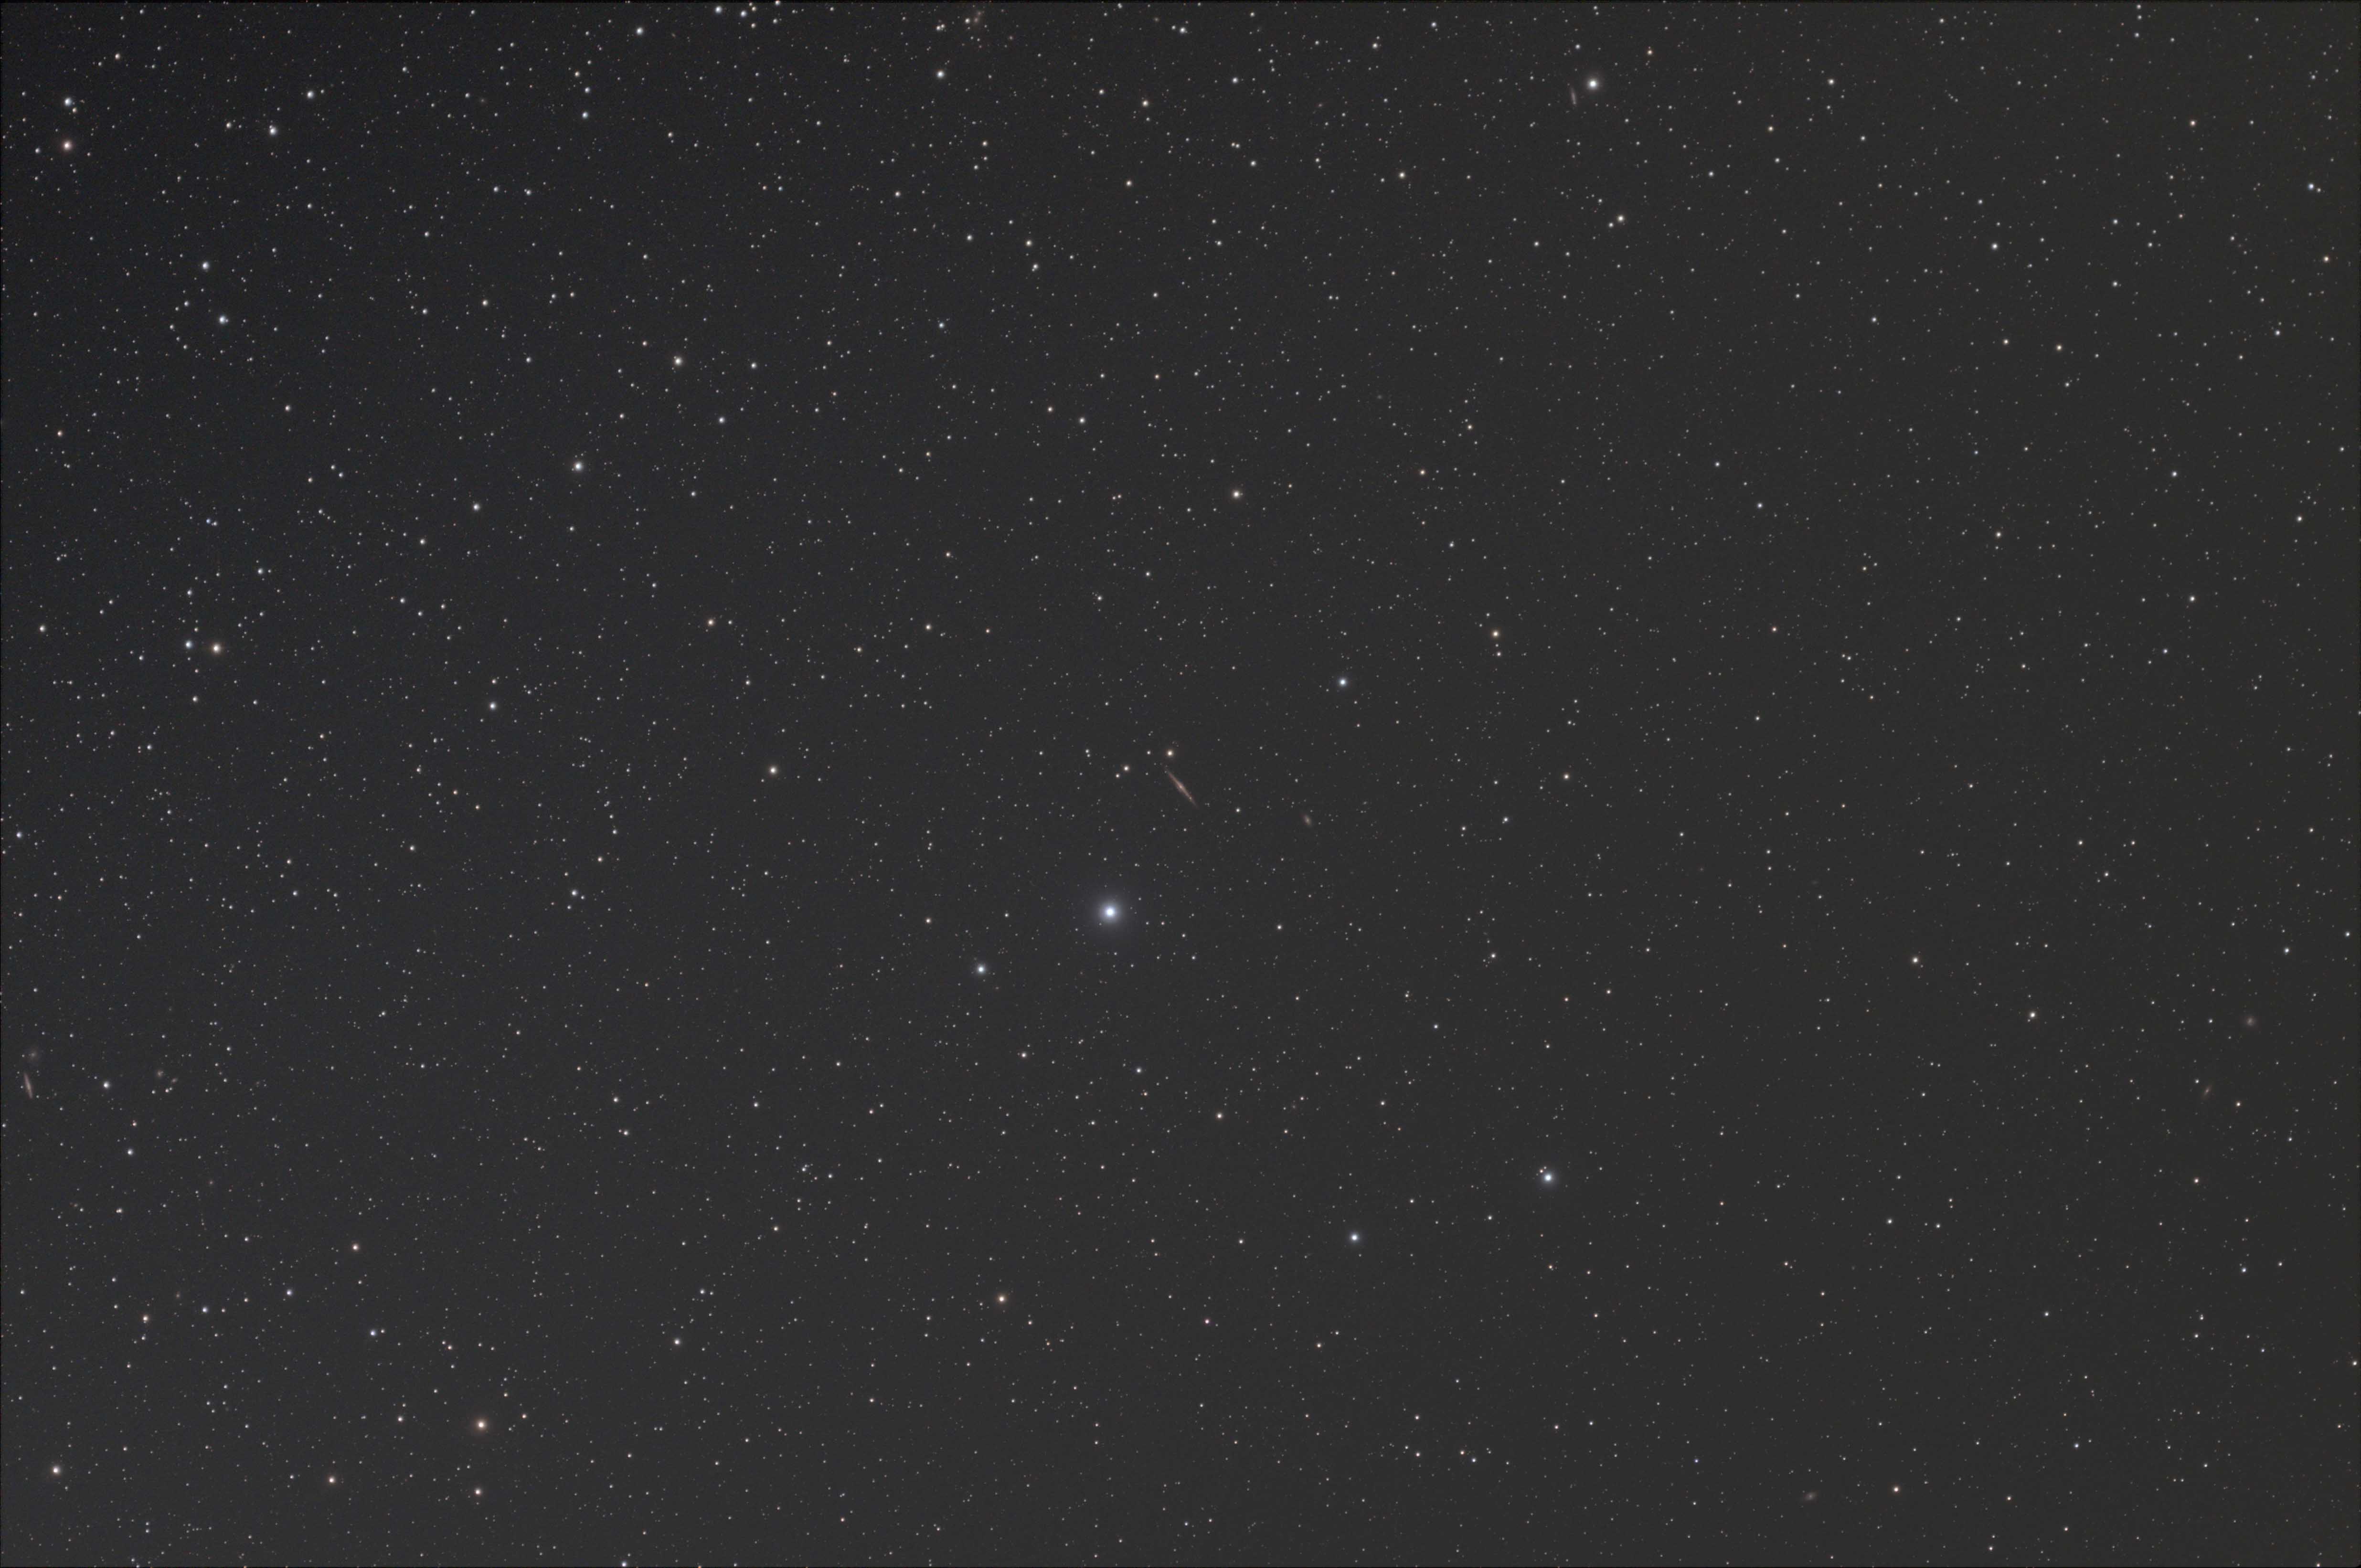
I haven't used the color rig this season, and I was capturing batches of subframes across the sky, mainly to test out focusing. I polar-aligned reasonably well, but didn't guide with these subs. I came away with a bunch of starfield shots, and stacked a couple batches.
The first is the massive blue-white B-type star in the center is Gamma Lyrae or Sulafat from the Arabic السلحفاة al-sulḥafāt "turtle", 漸台三 Jiāntāisān in Chinese astronomy, meaning the Third Star of Clepsydra Terrace. Sulafat is 15 times the sun's size, a little over 600 lightyears away, and it's burning brightly through its main sequence and out the other side.
What's cool is if you right-click this image, open in a new tab, and expand to full size, you can see M57, the Ring Nebula, is there in color middle top of the image.
For this set of subs I centered on NGC 5746, the tiny sliver of a barred spiral galaxy in the center. The bright star below it is 109 Virginis in the constellation Virgo. What's crazy about this shot it there at least twenty other galaxies in this frame--probably a lot more that just show up as pinpoints of light.
Posted May 14, 2021
Setting up for some RGB Color Imaging
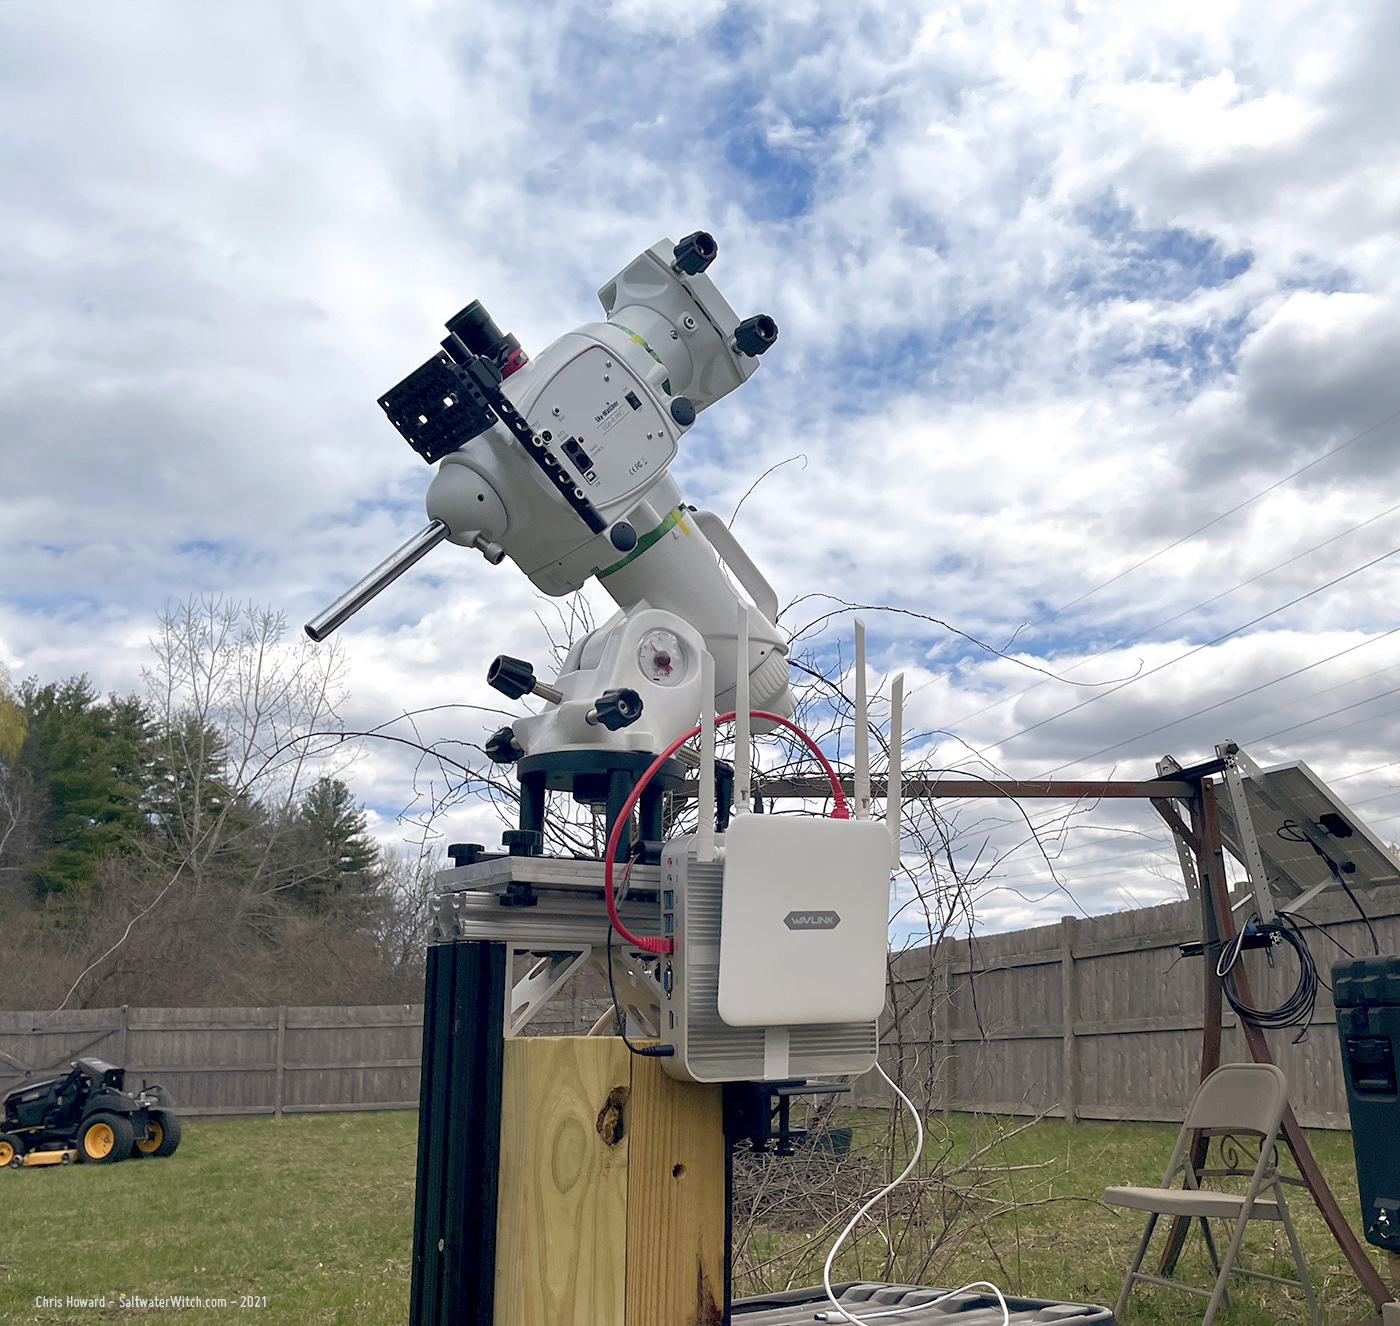
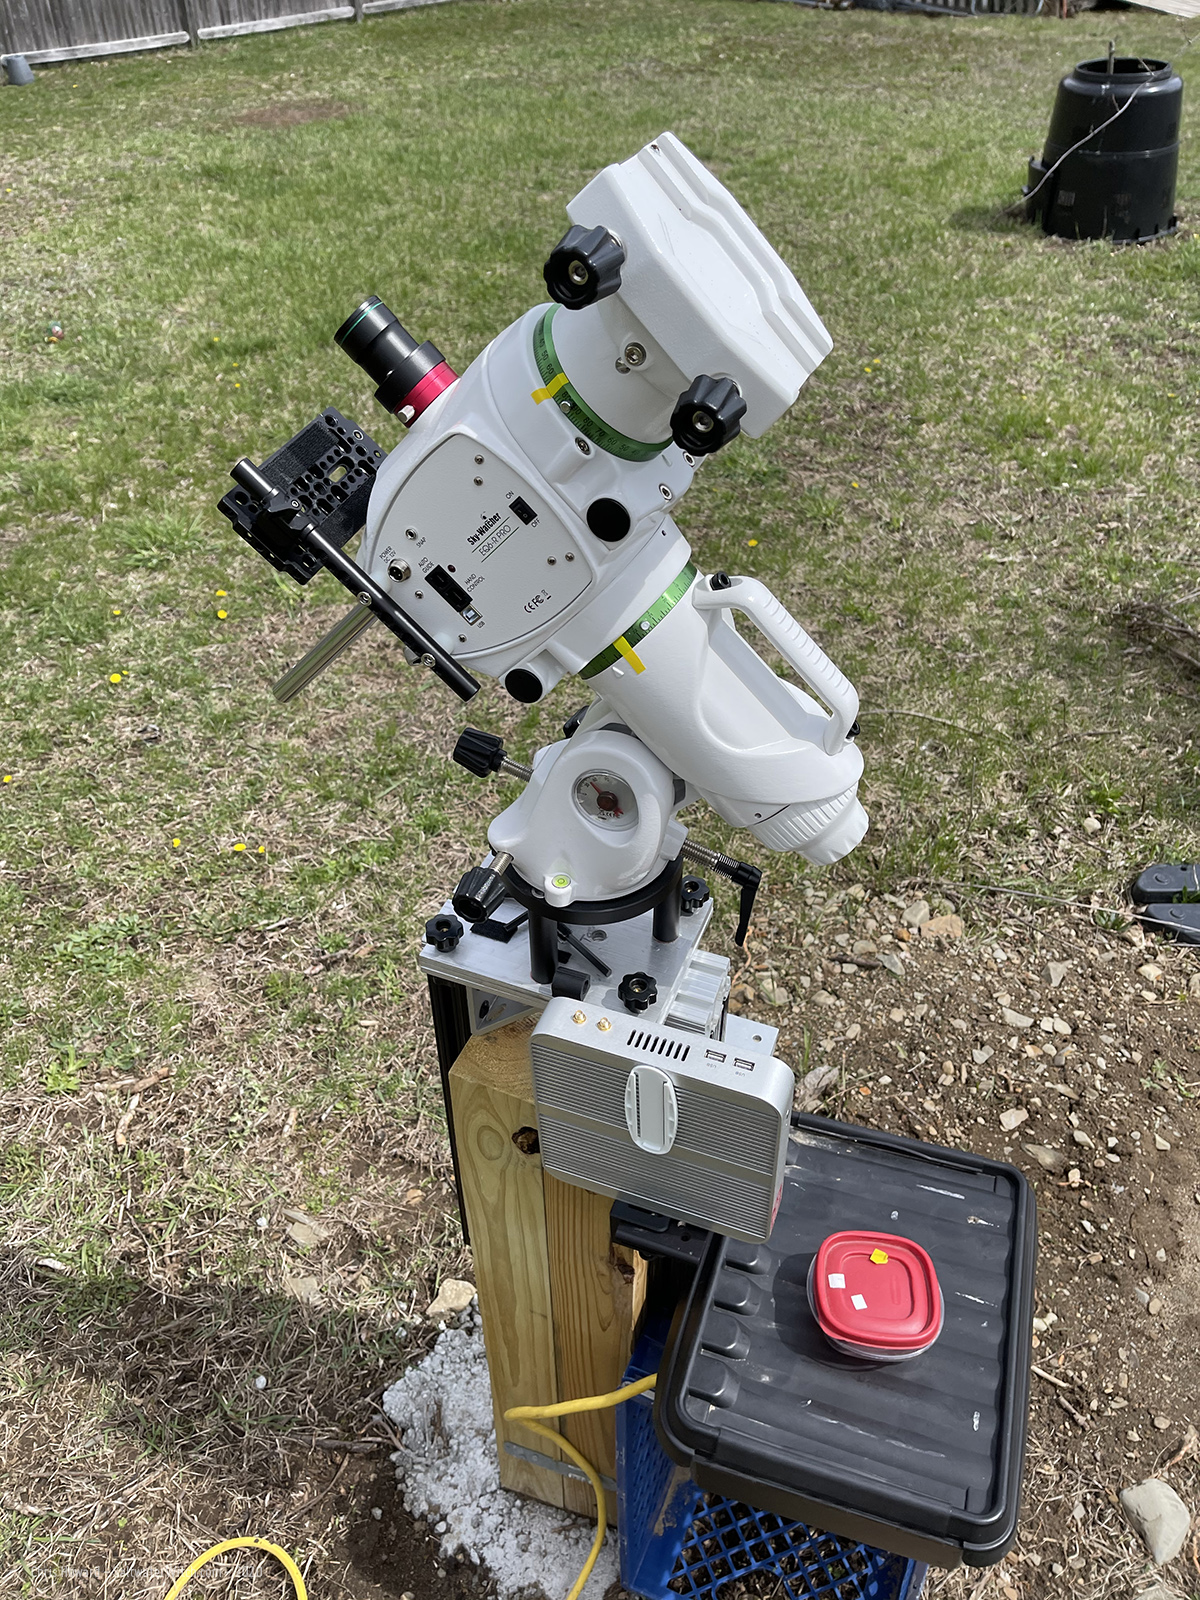
But not tonight, unfortunately. The weather isn't going to cooperate today. I may get a few hours through the week to test out the color rig, but I'm really waiting for the following week. The moon will be full next weekend, and then we'll see how the weather looks after that. Everything looking good so far. I'm remoting into that machine behind the router (thing with the antennas), and that's the system controller for the mount, cameras, guiding, weather checking, dew control, and everything else.
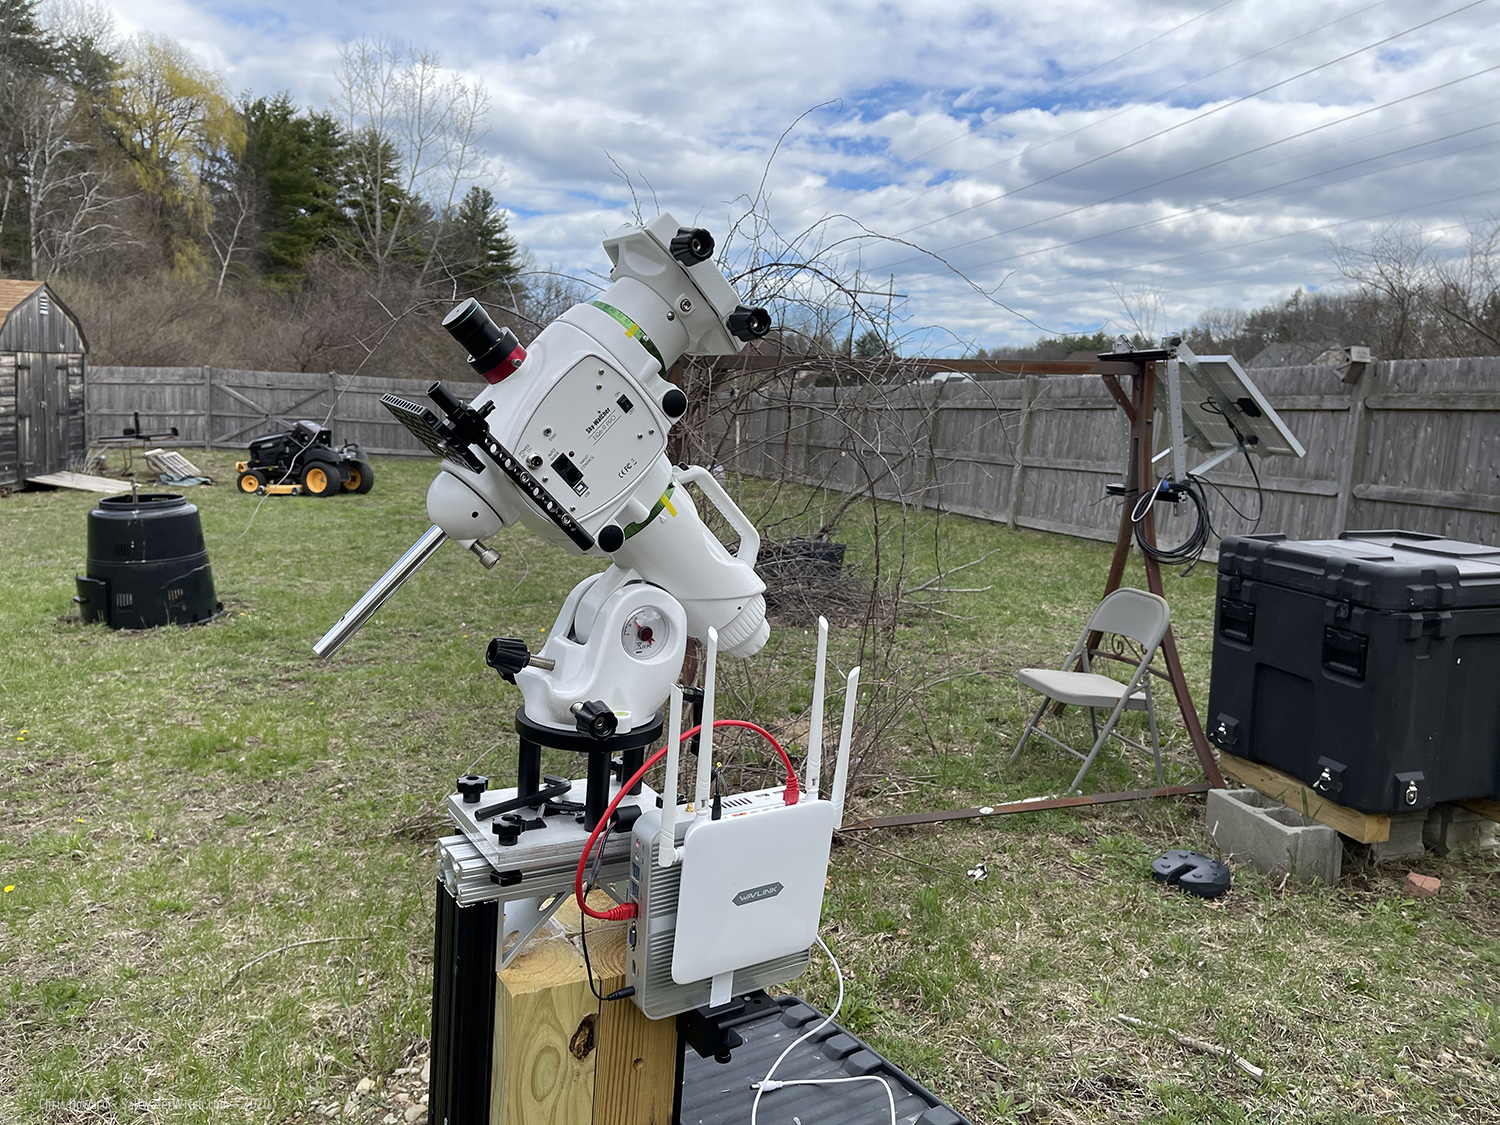
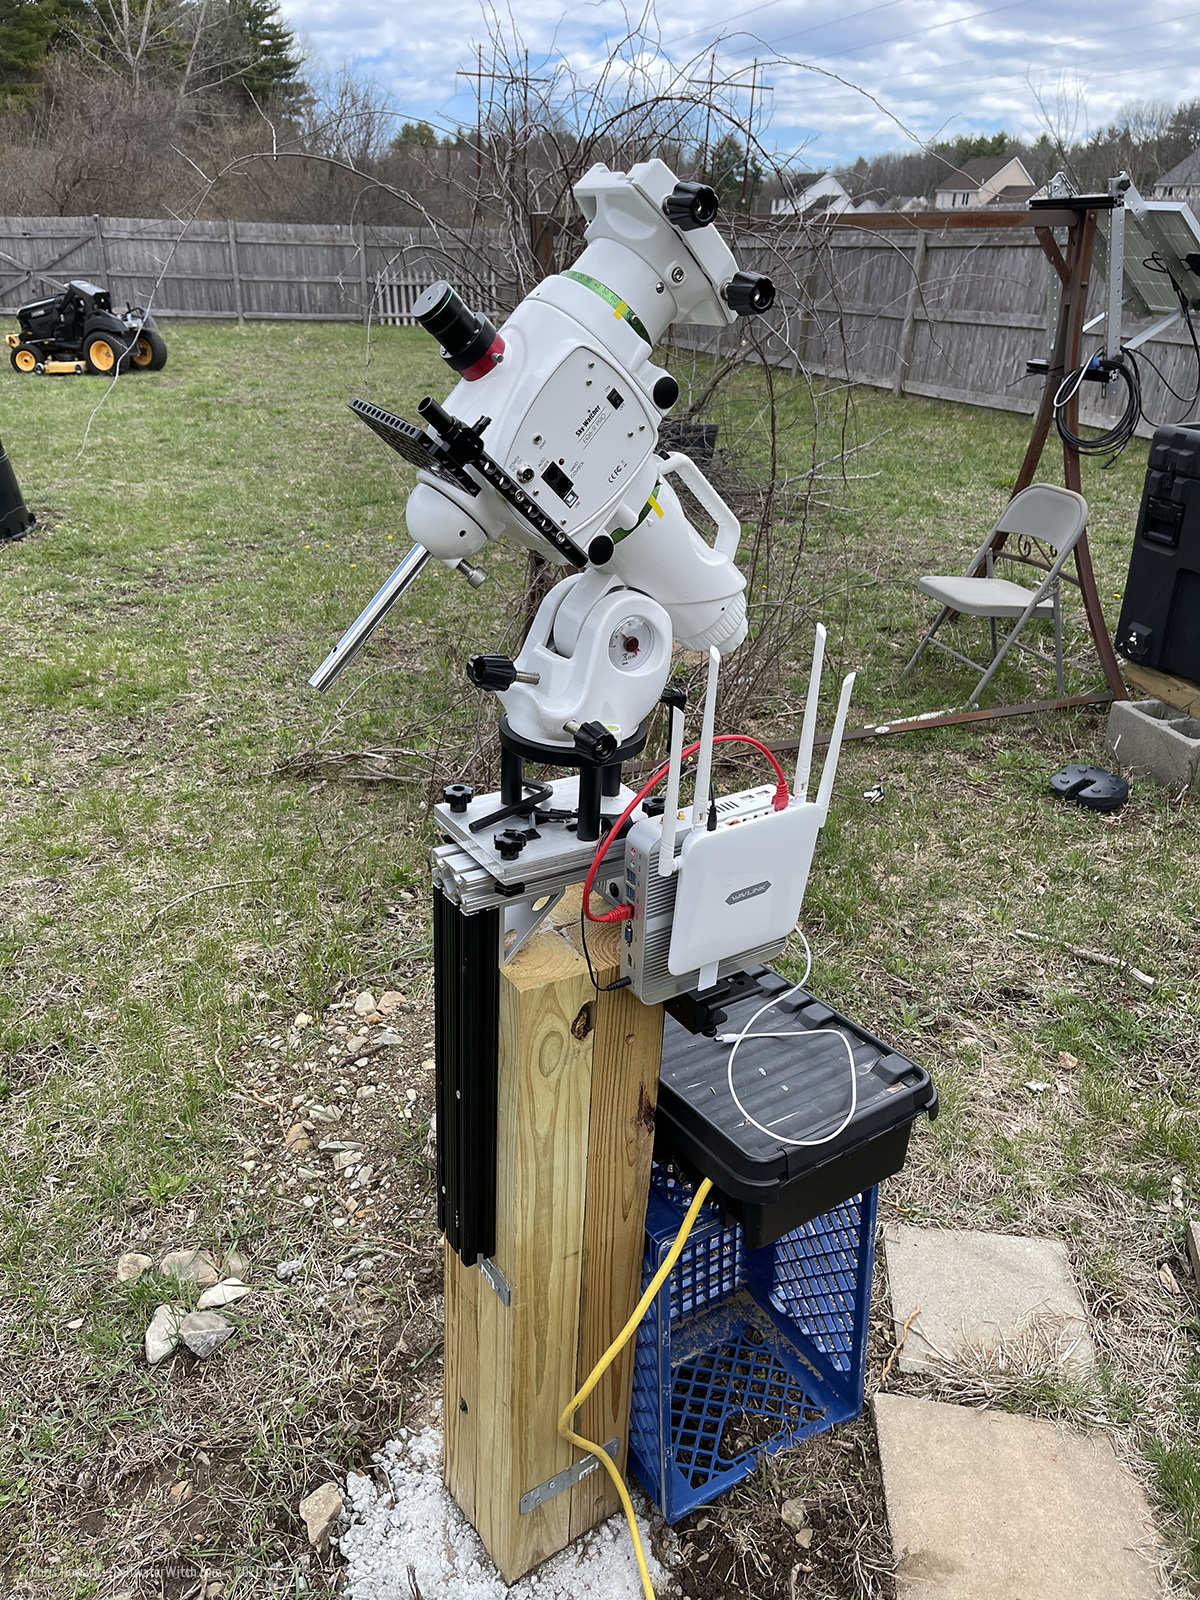
Posted April 18, 2021
So, How's the New Backyard Pier Going?
 That's the big question. Over the last couple weeks I have had five clear nights of imaging with the new pier—the pier allows me to keep my astro gear setup semi-permanently. I park the scope at the end of the night, shut everything down, throw the cover over it and cinch it up. Done. (I bought a TeleGizmos 365 Series Cover for 8-10" SCT from OPT several months back, but I'm just starting to use it now). There were three rainy days between these image captures, and a couple nights that dipped below zero (low 20°s F/ -6C). I left the mount and scope set up in the rain, protected by the cover, and with a couple bags of desiccant, the equipment was completely dry. Unlike a tripod, the pier allows me to tighten the cover around the post under all the equipment, holding off any moisture that might rise up from wet grass and ground.
So, how's the pier functioning? Perfectly. My goal was to be able to setup my gear and leave it outside for long periods—maybe weeks, and not have to polar align after the first night. I did run through a polar align the second night because I wanted to see how well it maintained alignment, and it was right on. I have now gone through three more imaging sessions without polar aligning! I simply check the weather, pull off the cover, power up everything, and begin my first sequence of the night. It really has been that simple.
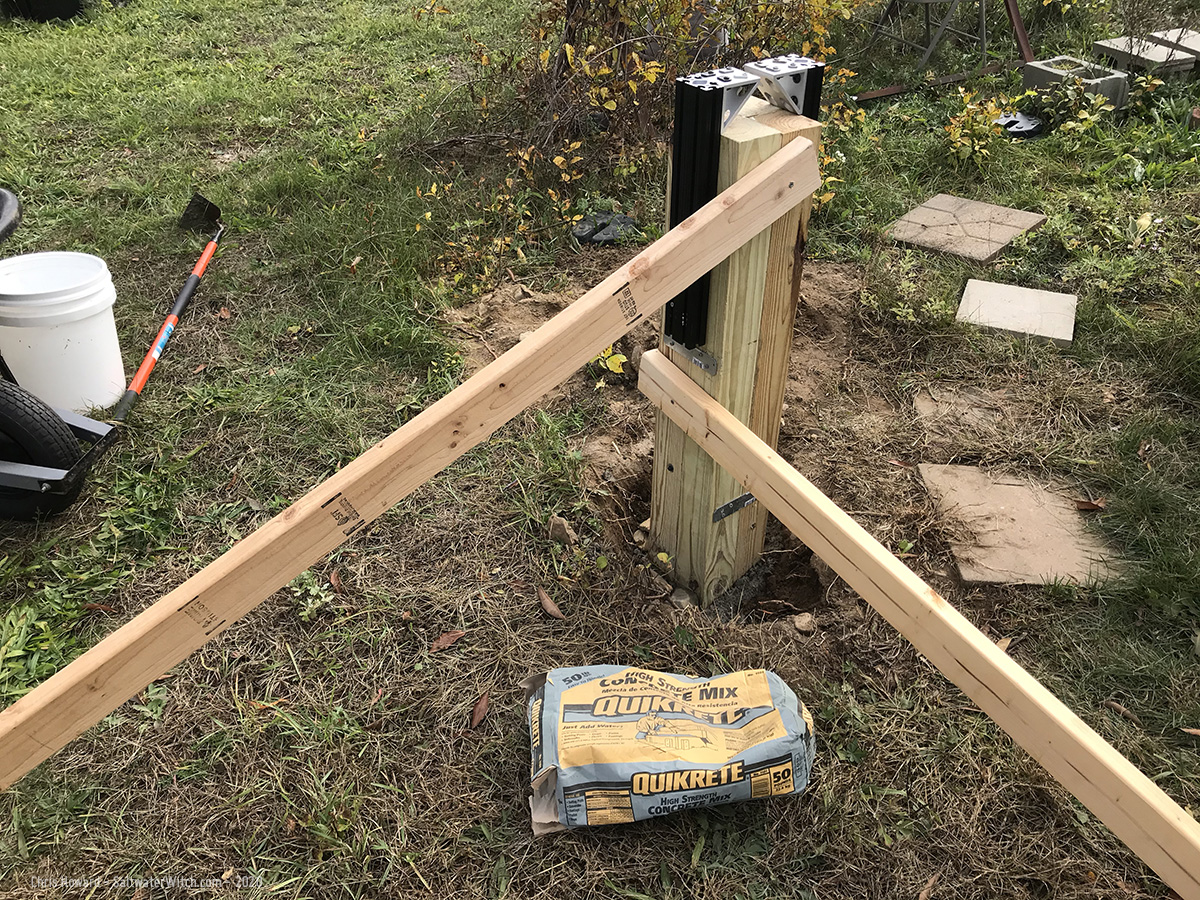 How is the Total RMS when guiding? Very good—what I expected. Depending on seeing and other factors I've been running with .5" to right around 1", which is as good as it gets for my skies and mount. The pier is rock solid. We'll see how four bolted together lengths of treated lumber behave over time, but I am not expecting any movement.
The distance from the reducer/flattener to the sensor is just a hair too far, maybe a millimeter off, so stars are slightly wonky. I'm still playing around with a few equipment details. Other than that, I'm really happy with these imaging runs. Start-up and shut down is so easy. This really is the next best thing to a backyard observatory. And building the walls and roll-off roof of a tiny observatory around the pier might be a next step, who knows? I also have my micro-observatory project still underway, but that only works with a small mount. I'm having an issue right now with the CEM25P, and I have to resolve that before I can get back to the micro project. At the end of the day, what's cooler than having a permanent astro setup in the backyard? Yup, two permanent astro setups in the backyard.
I went with Hydrogen-alpha for last night's run, and targets included with 60 x 240sec subs of IC 405 (Flaming Star Nebula) in Auriga, and 60 x 240sec subs of IC 2177 and NGC 2327 (Seagull Nebula) in Canis Major.
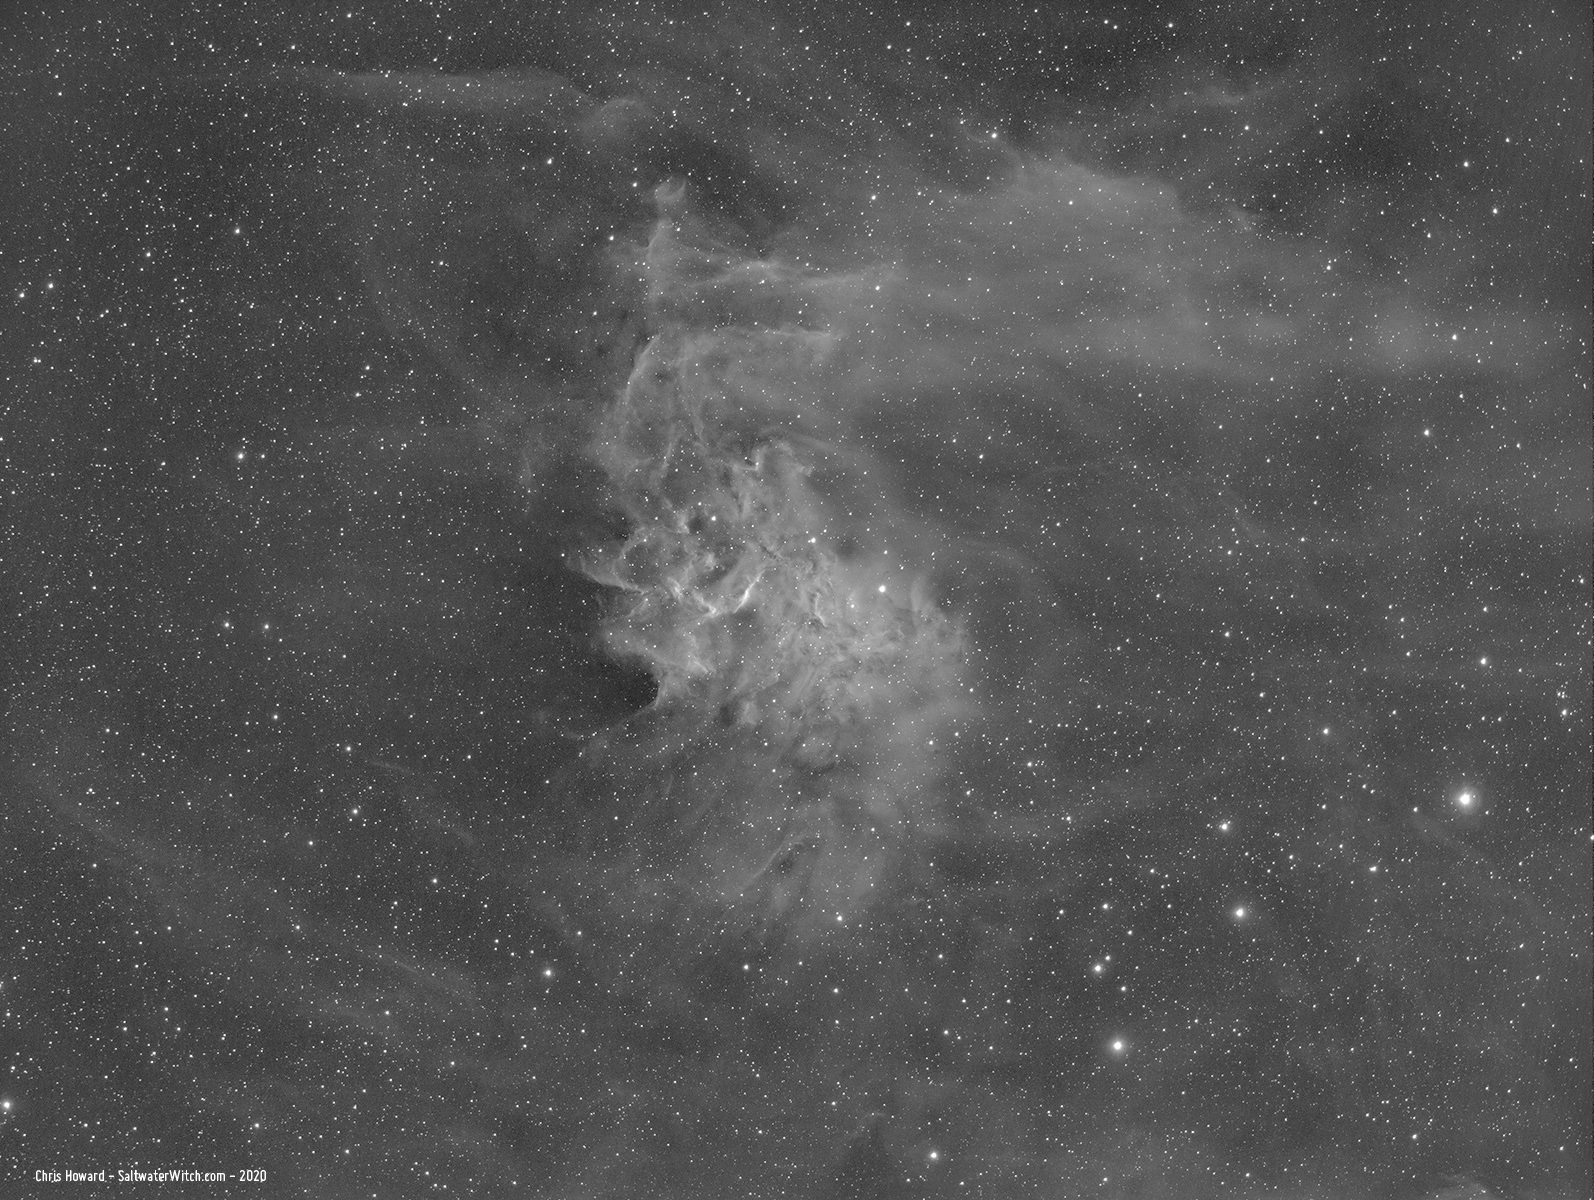
IC 2177, NGC 2327—Seagull Nebula:
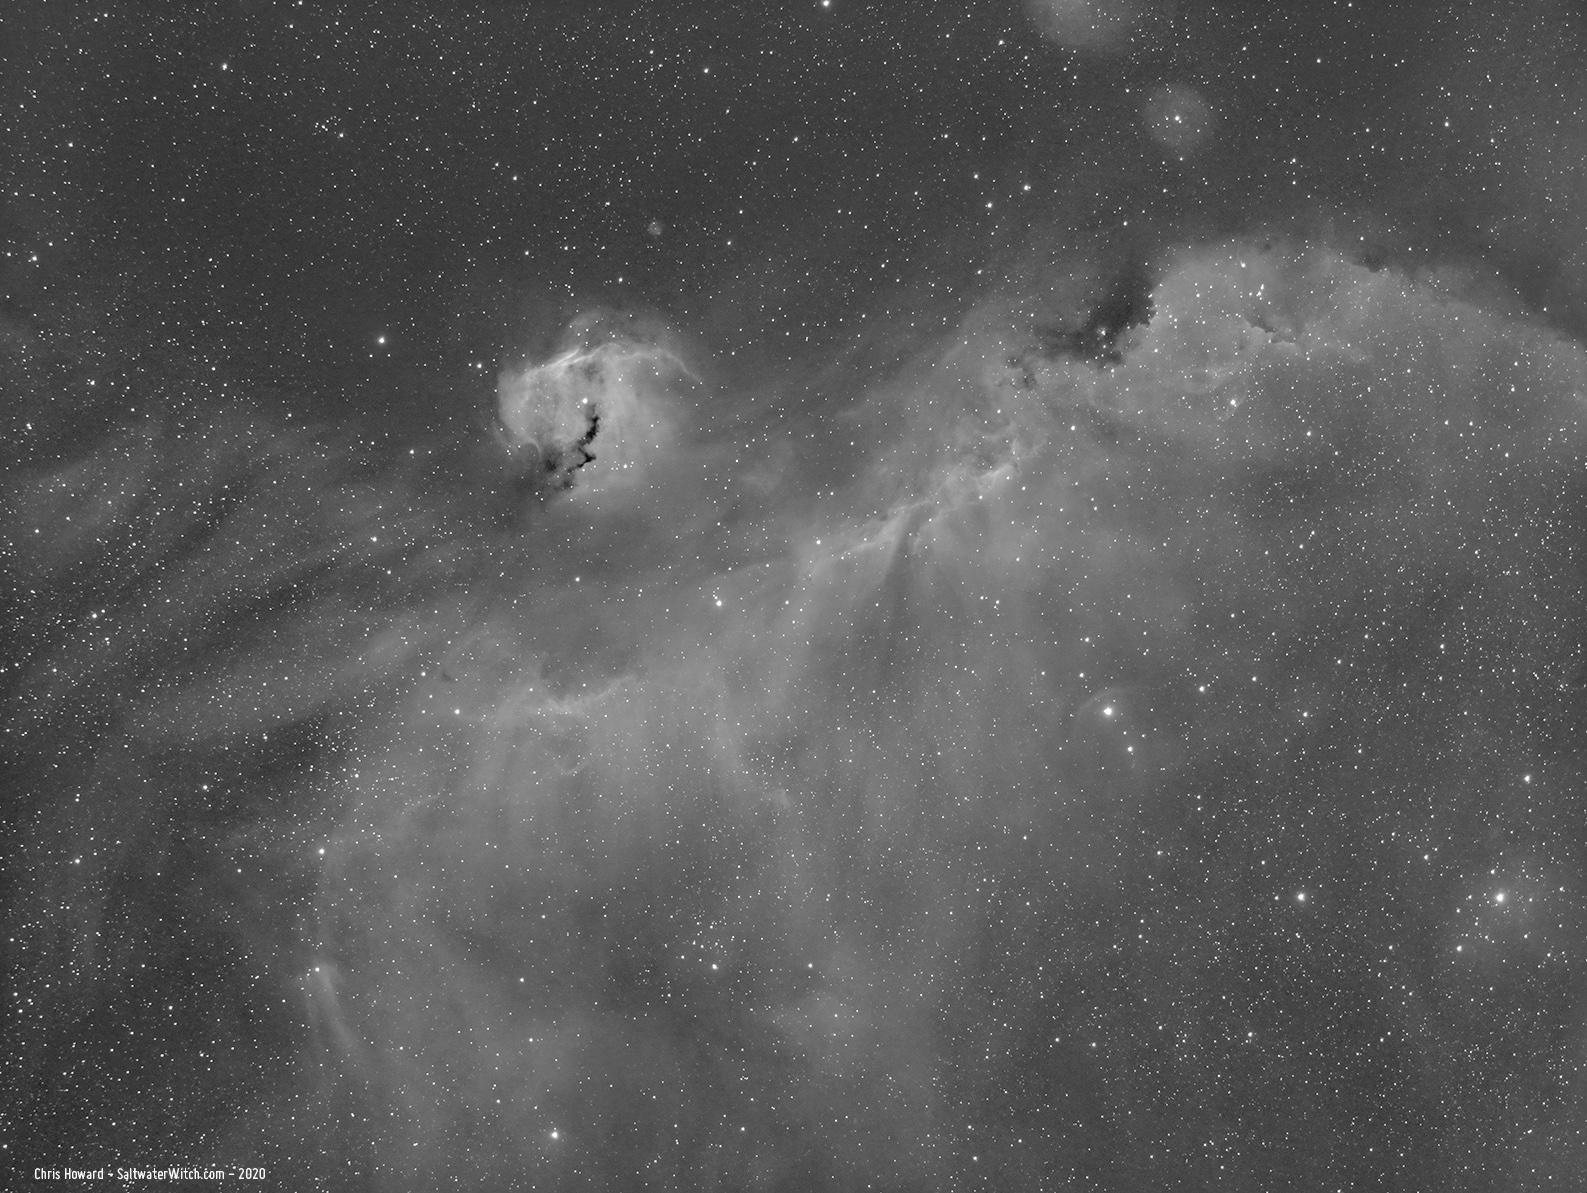
Gear notes: SkyWatcher EQ6-R Pro mount, William Optics GT81 Apochromatic Refractor 392mm at f/4.7, ZWO ASI1600MM-Pro monochrome camera, Astronomik 6nm filters, Moonlite focuser, Raspberry Pi 4 4GB / 128GB running INDI/KStars/Ekos
